Generate historical Reports
Follow the instructions below to generate reporting data for dates in the past.
OVERVIEW


Offers Carousel
-
-
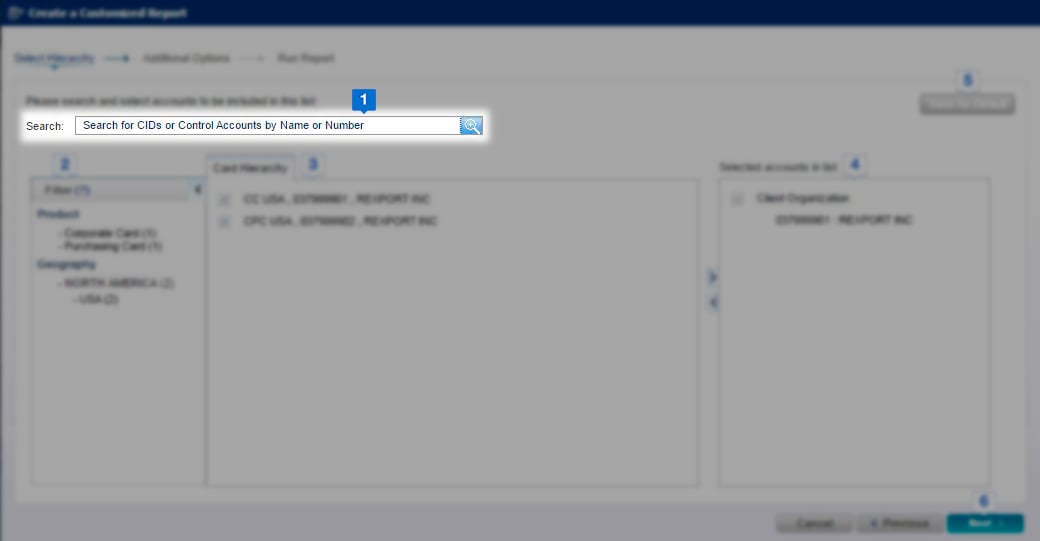

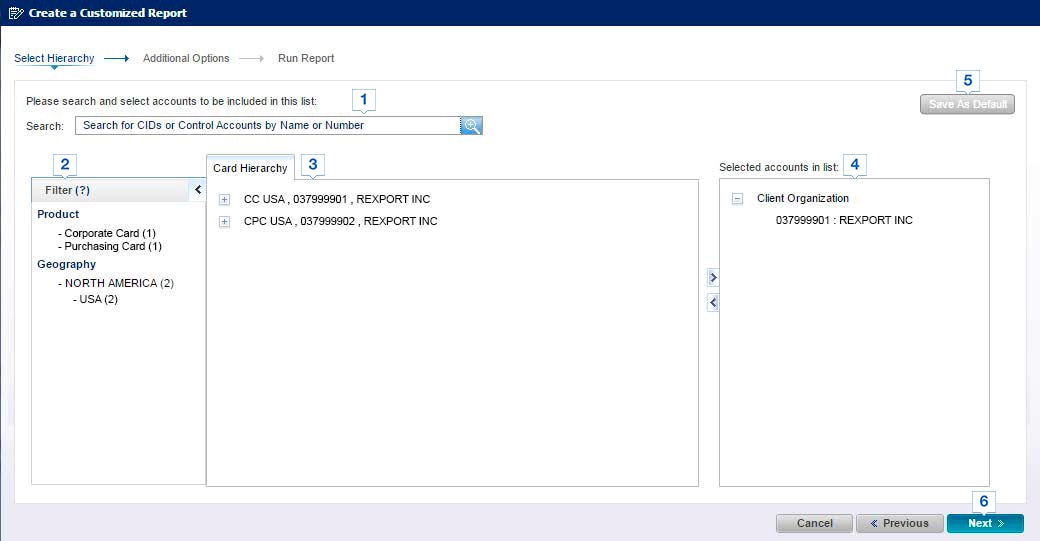
To find a program hierarchy, enter the name or number in the Search field
-
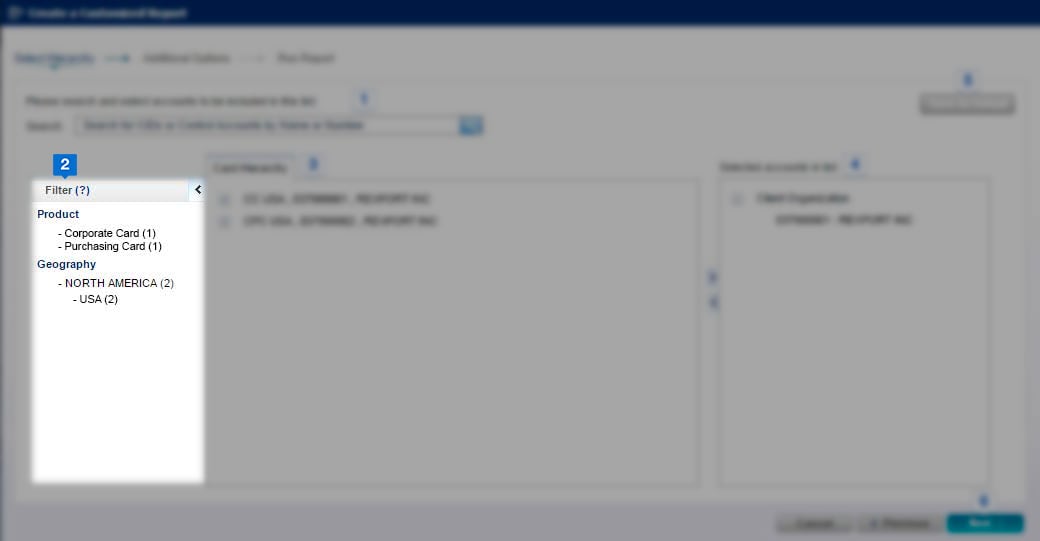

You can also use the Filter option to search for a specific hierarchy type.
-
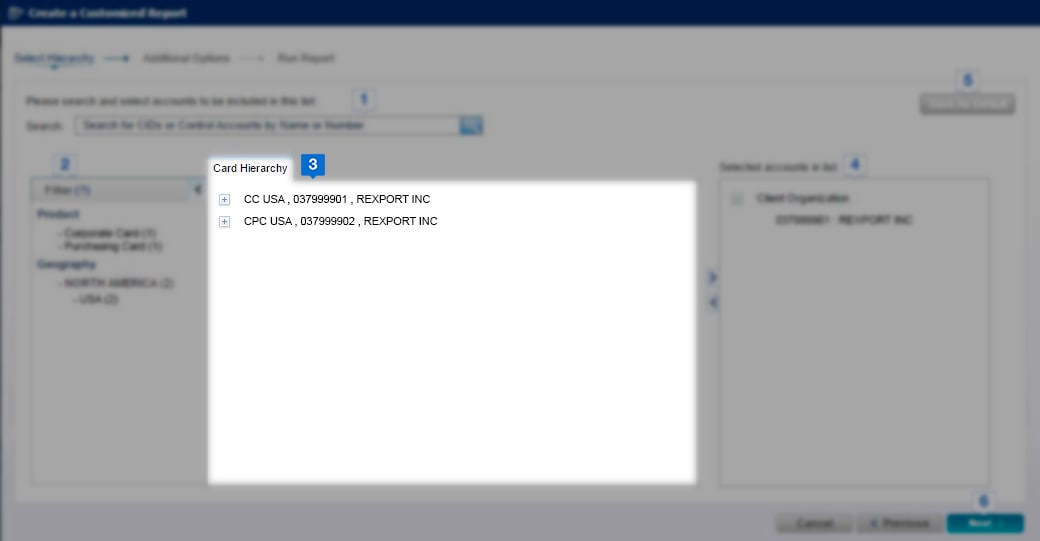

Select the desired Card Hierarchy.
-
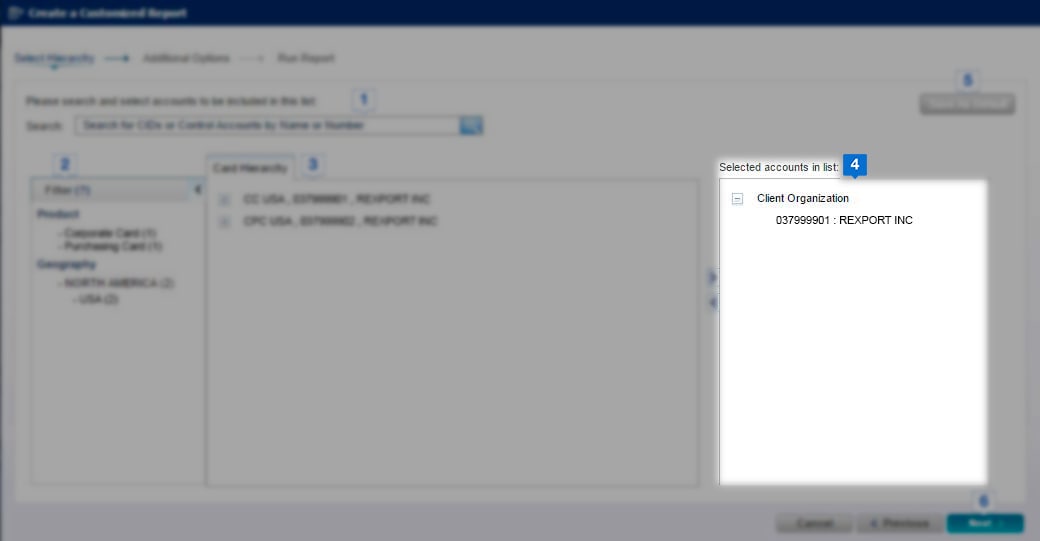

Click the right arrow icon to move the selected hierarchy to the right-side column under Selected accounts in list.
-
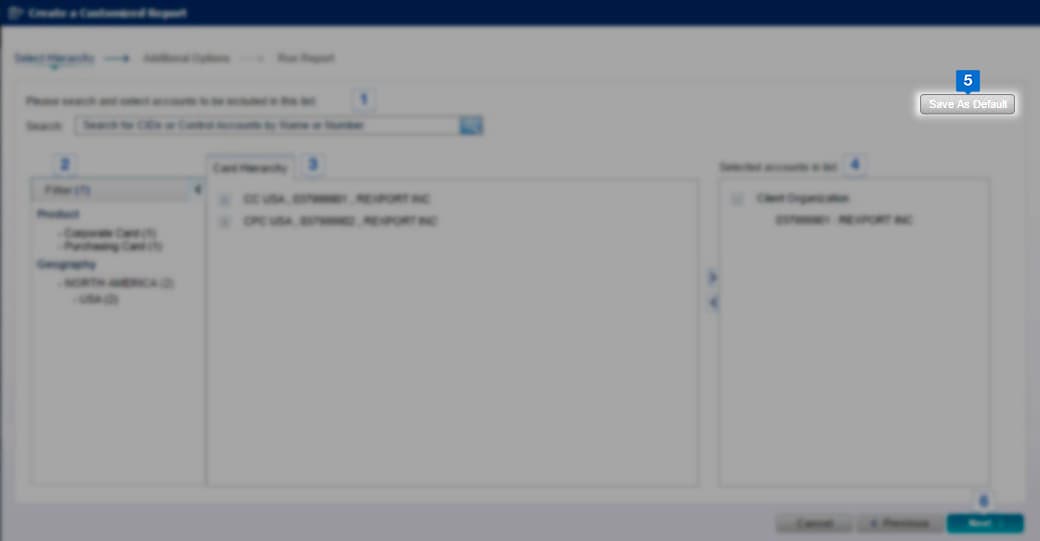

Click Save as Default to save the hierarchy selection for future reports
-
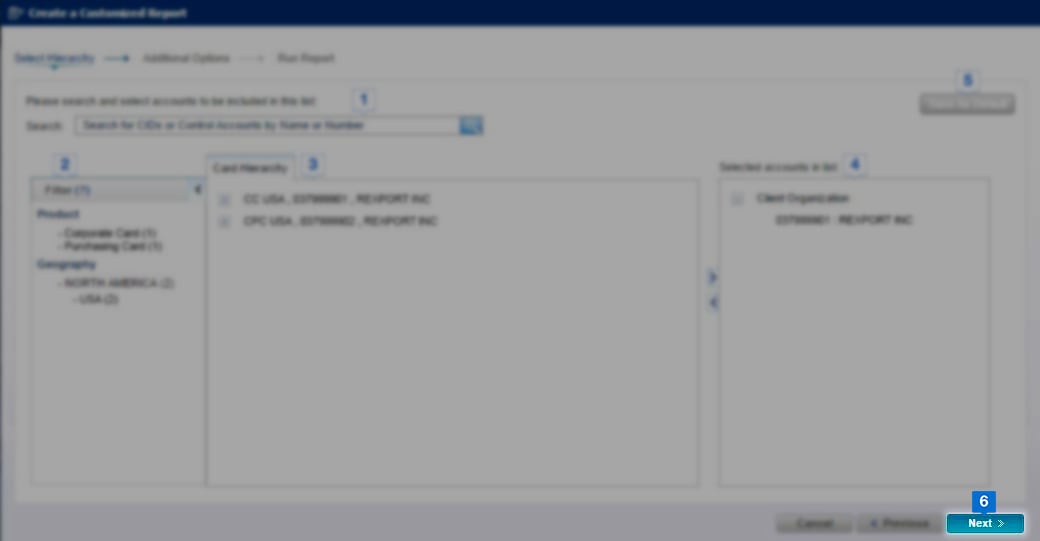

Click Next to continue with the process
SELECT REPORT TYPE
Offers Carousel
-
-
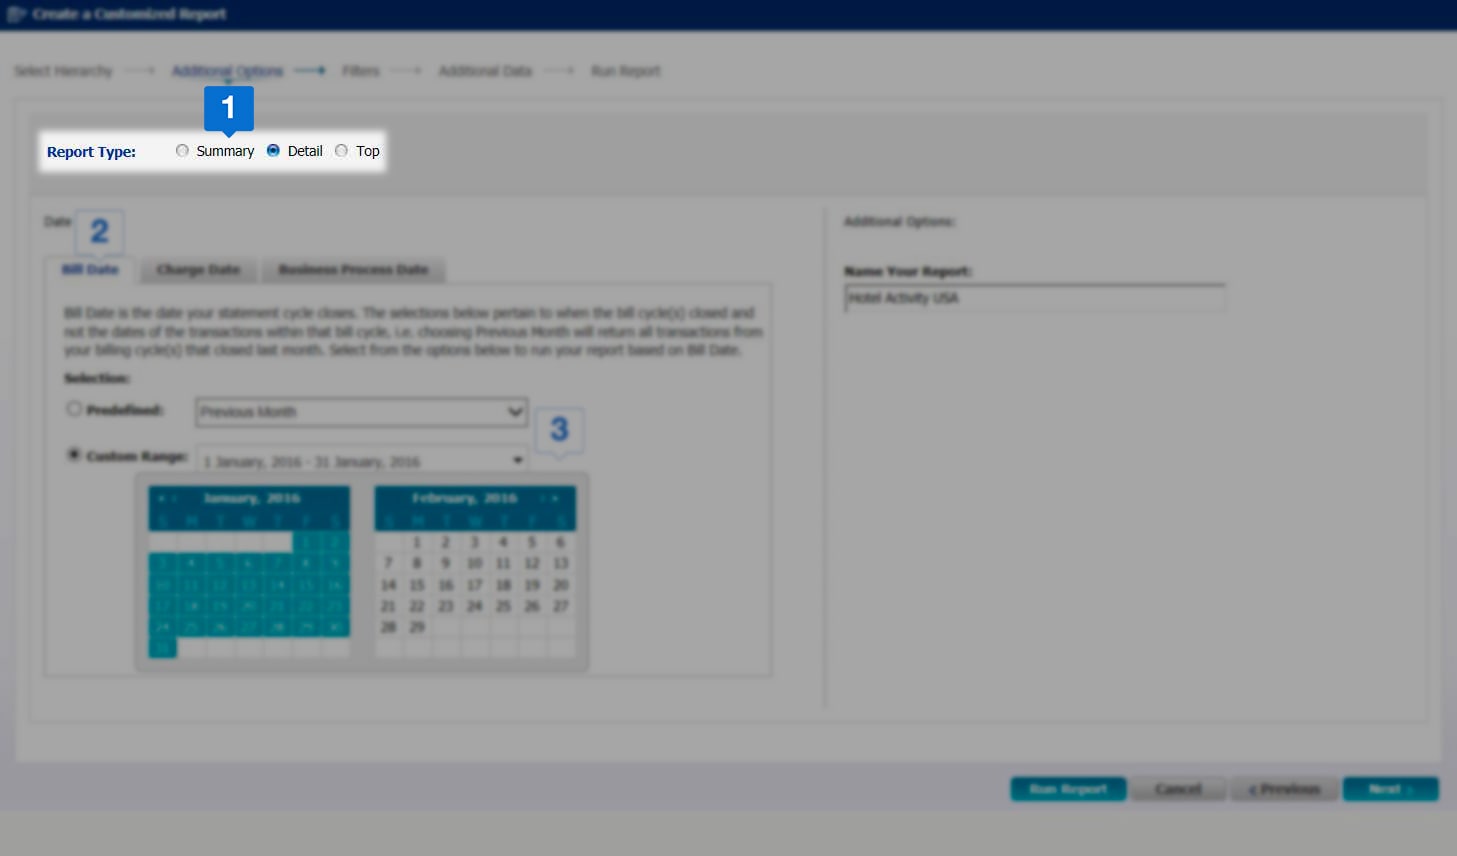
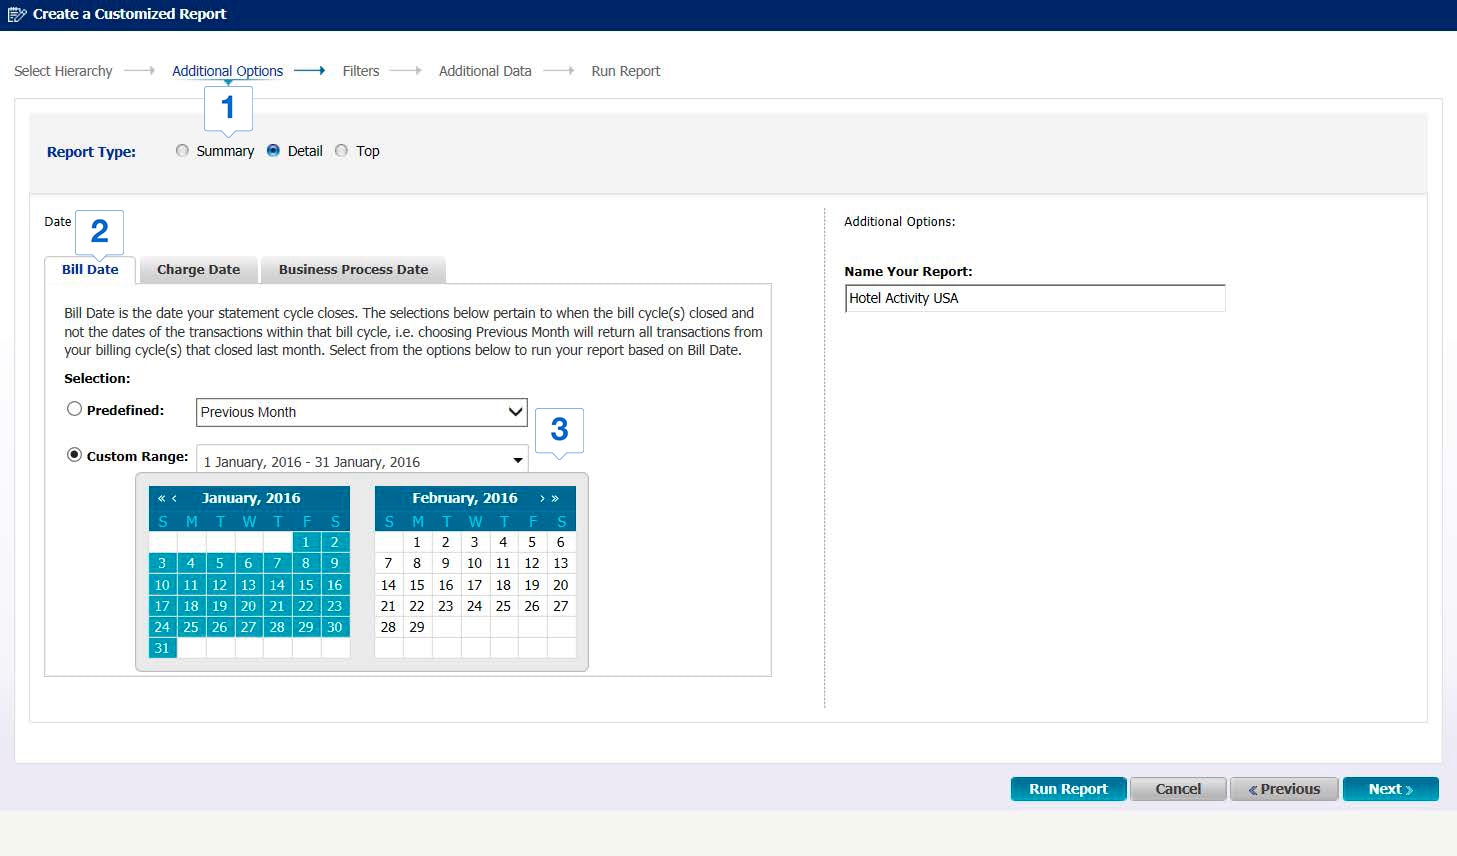
Choose the View Type for your report; Summary, Detail, and Top. Please note that the view type impacts the date, filters, and additional data options in the selection process.
-
Select the required report such as Bill Date, Charge Date, and Business Process Date.
-
For each report, you can generate data for the dates in the past by selecting Predefined or Custom Range
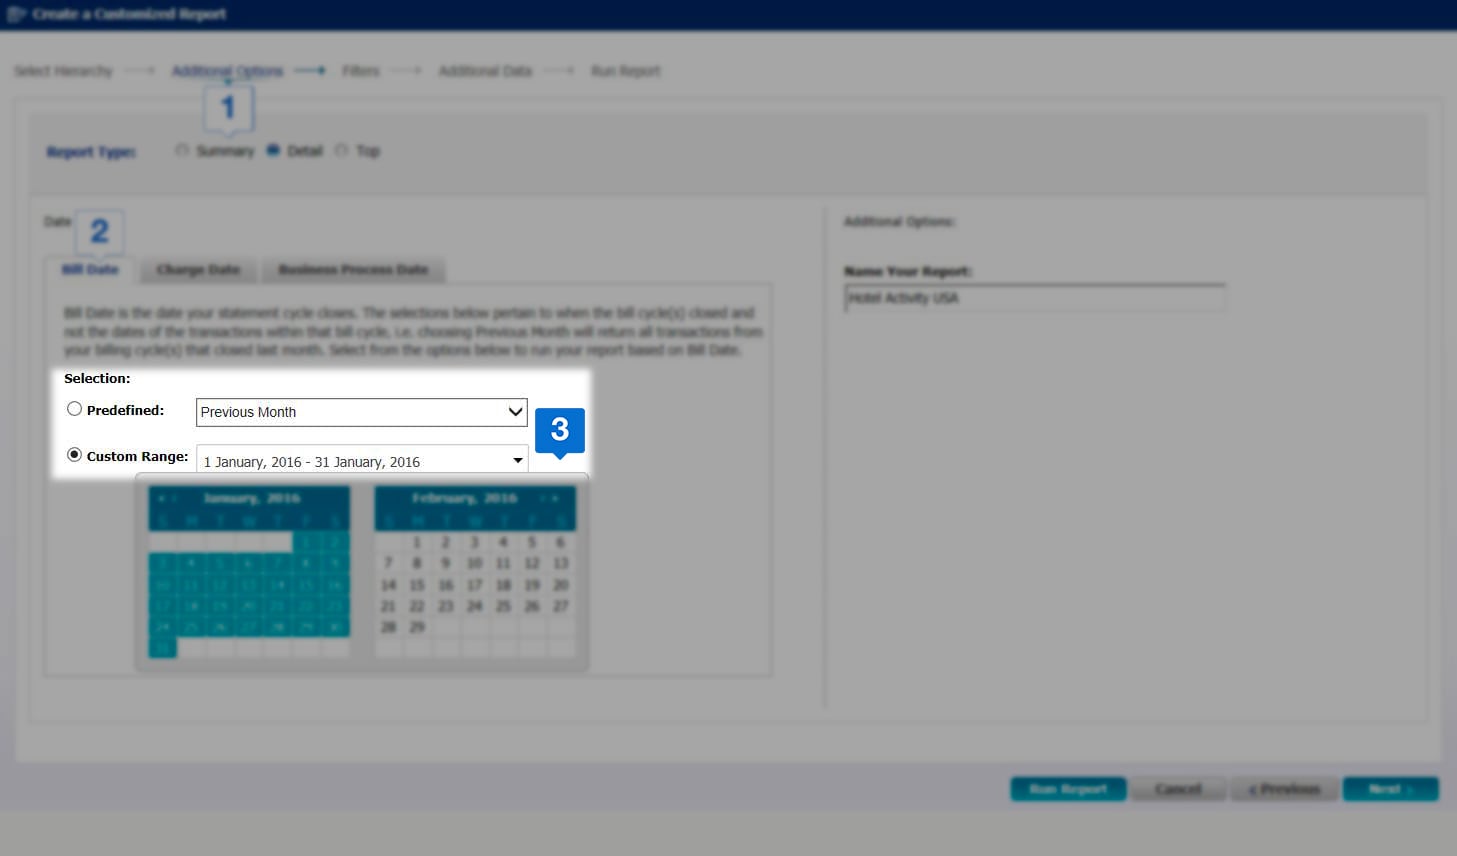
PREDEFINED REPORT TYPE
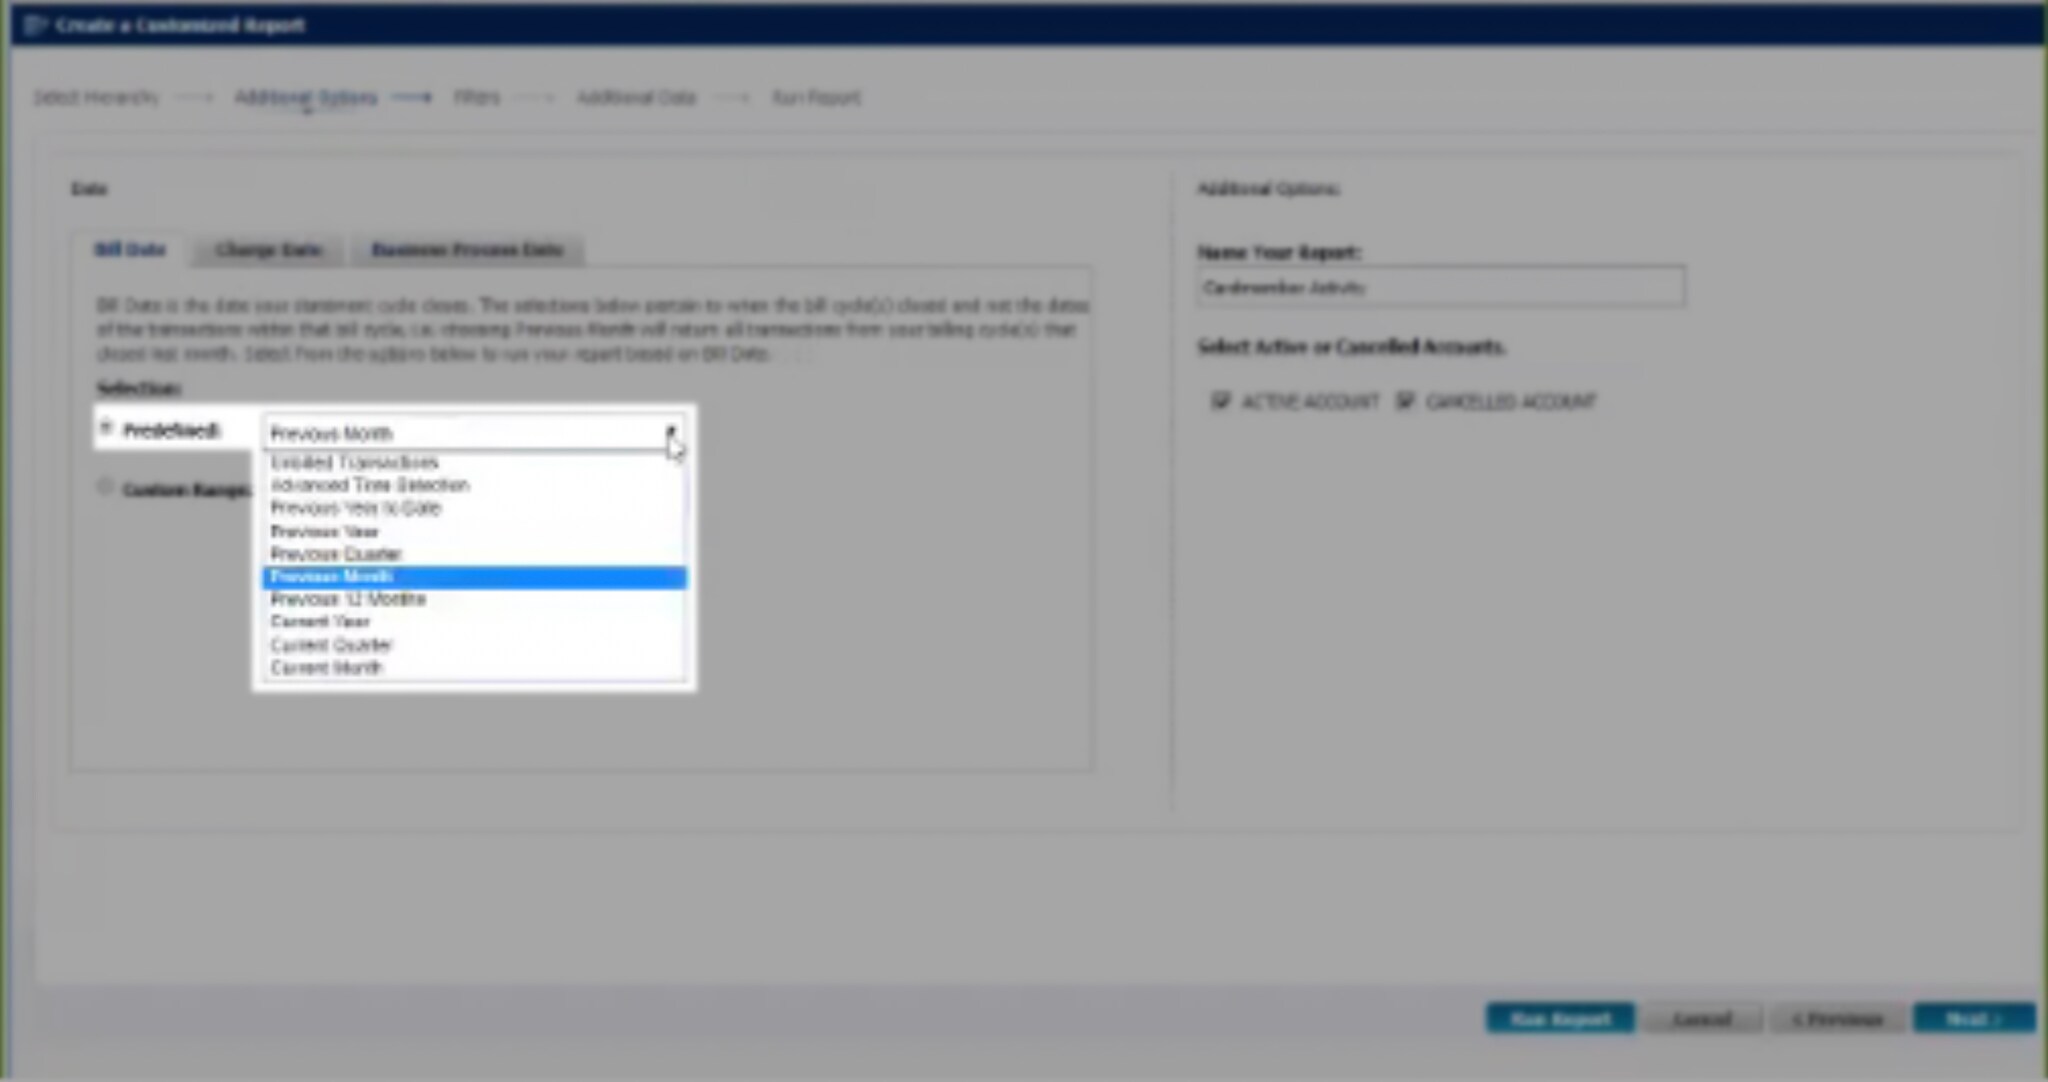
Under Predefined option, you can build reports for the previous month, quarter, or similar date ranges.
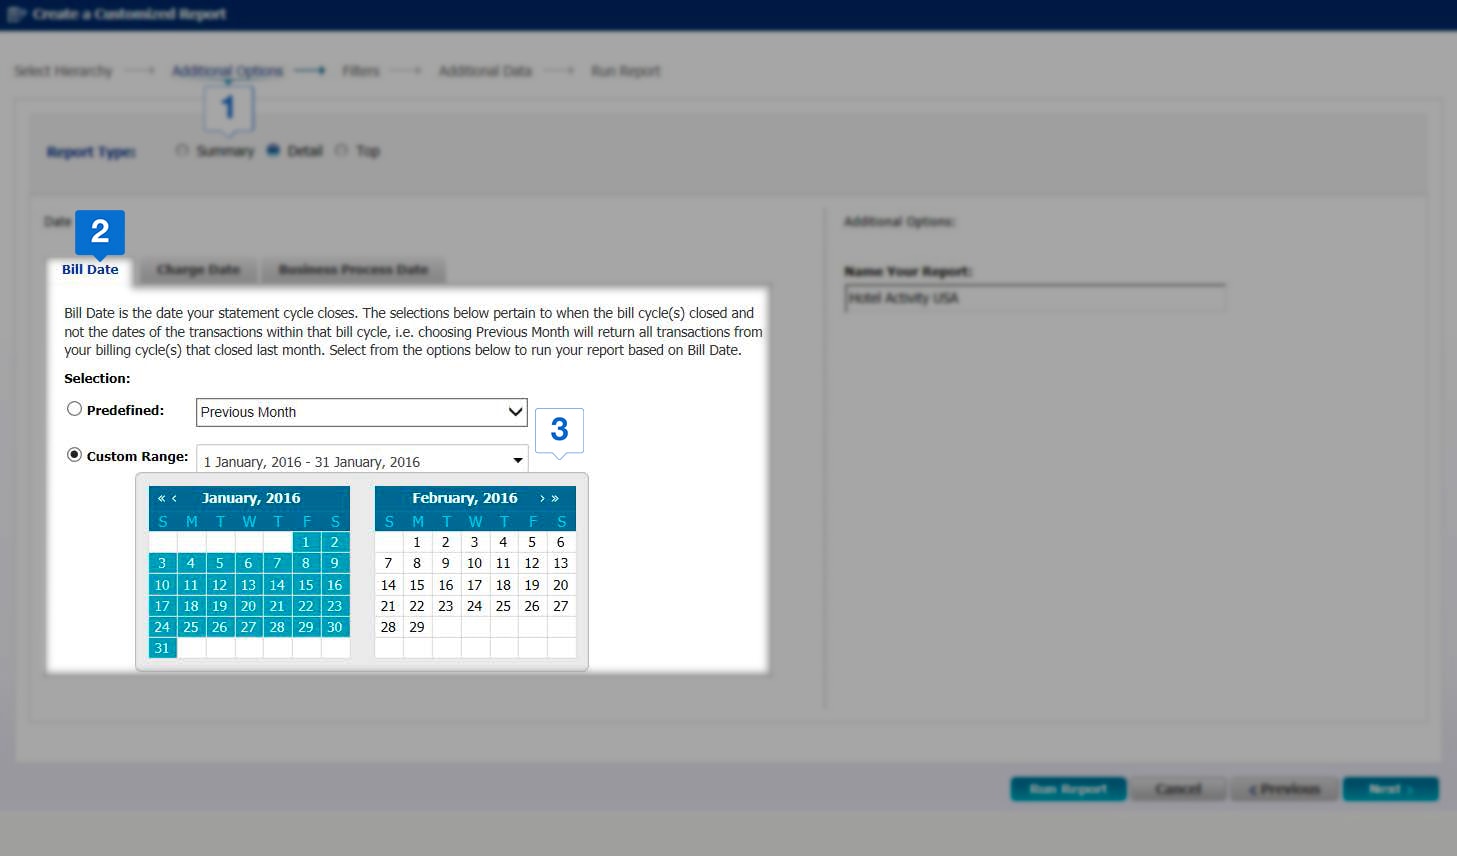
CUSTOME RANGE REPORT
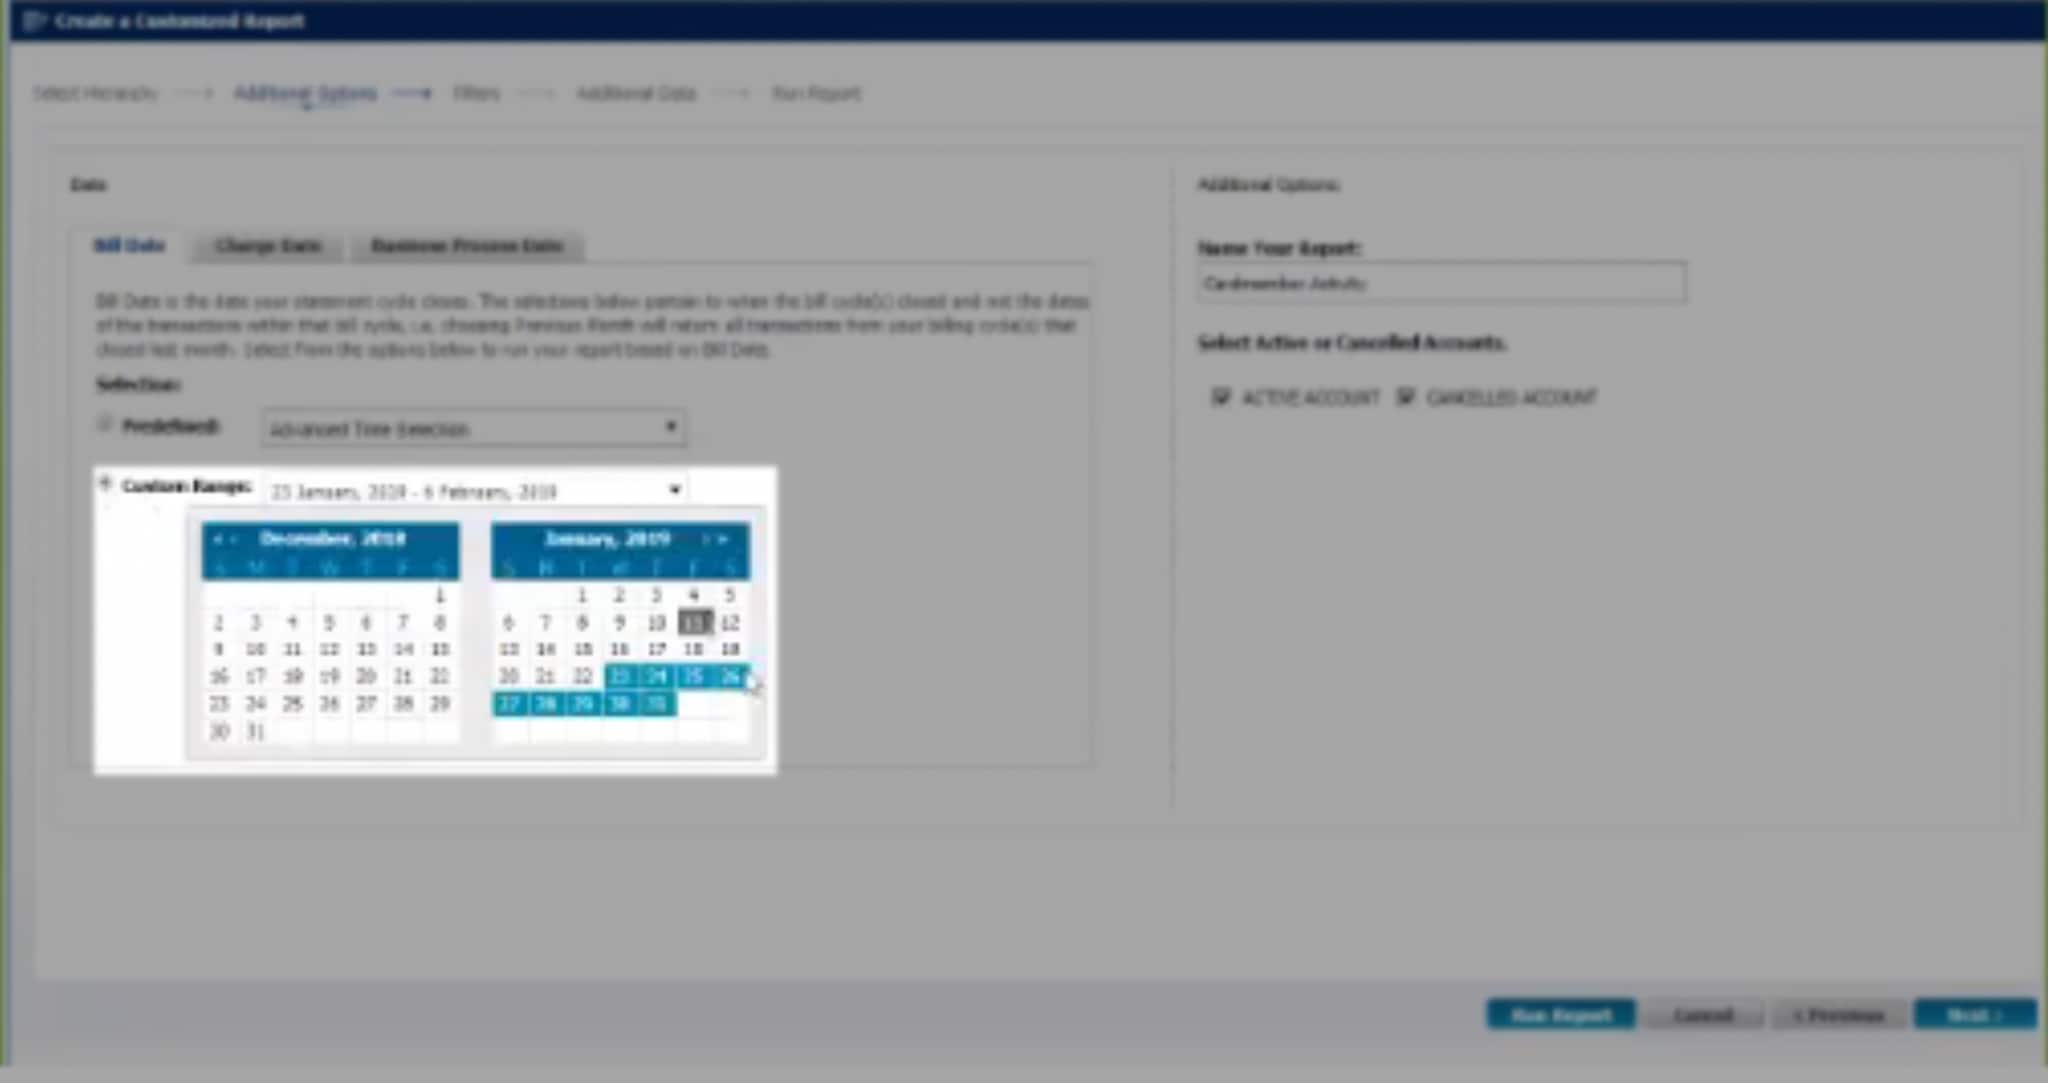
In the Custom Range Section, you can generate reports for any earlier timeframe of your choice.
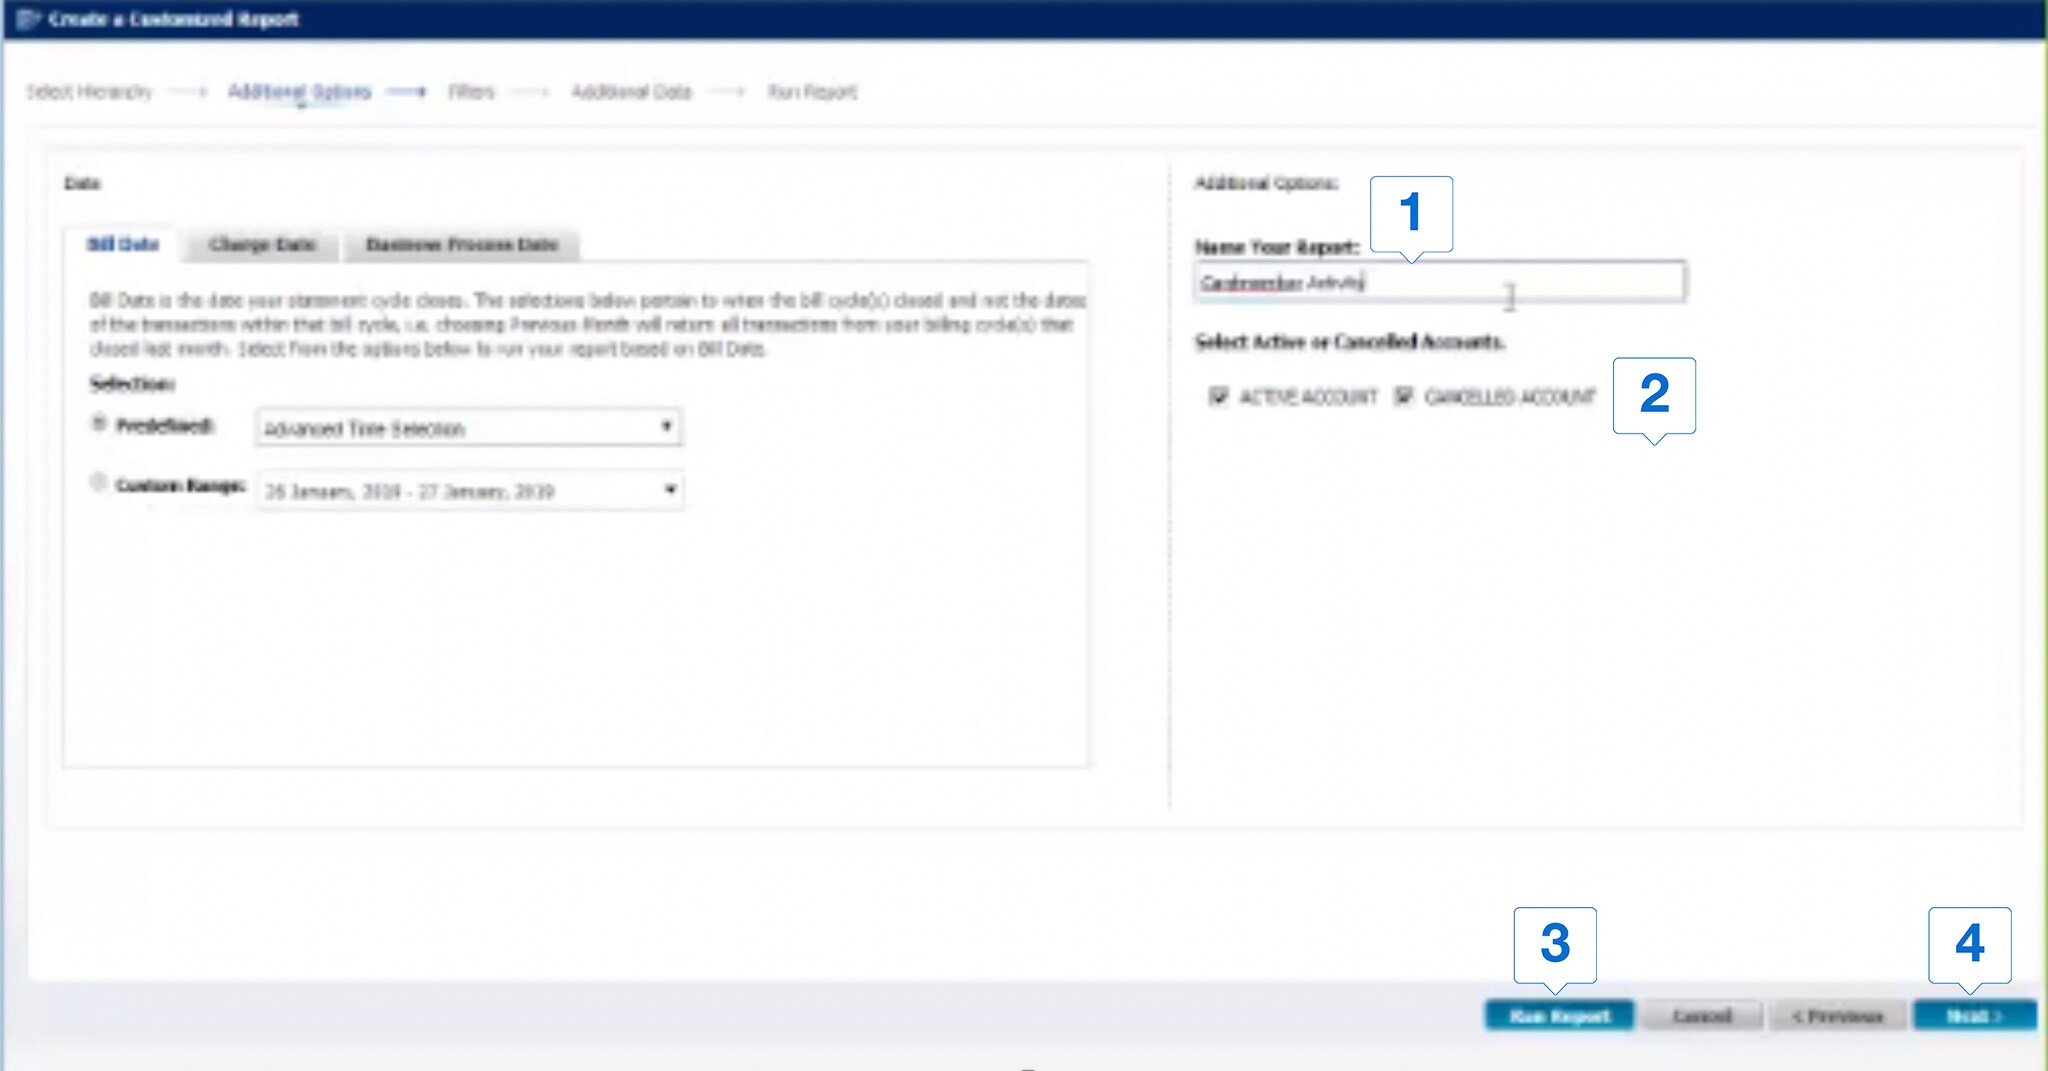
SELECT OPTIONS
Offers Carousel
-
-

Click on Update the name of your report
-
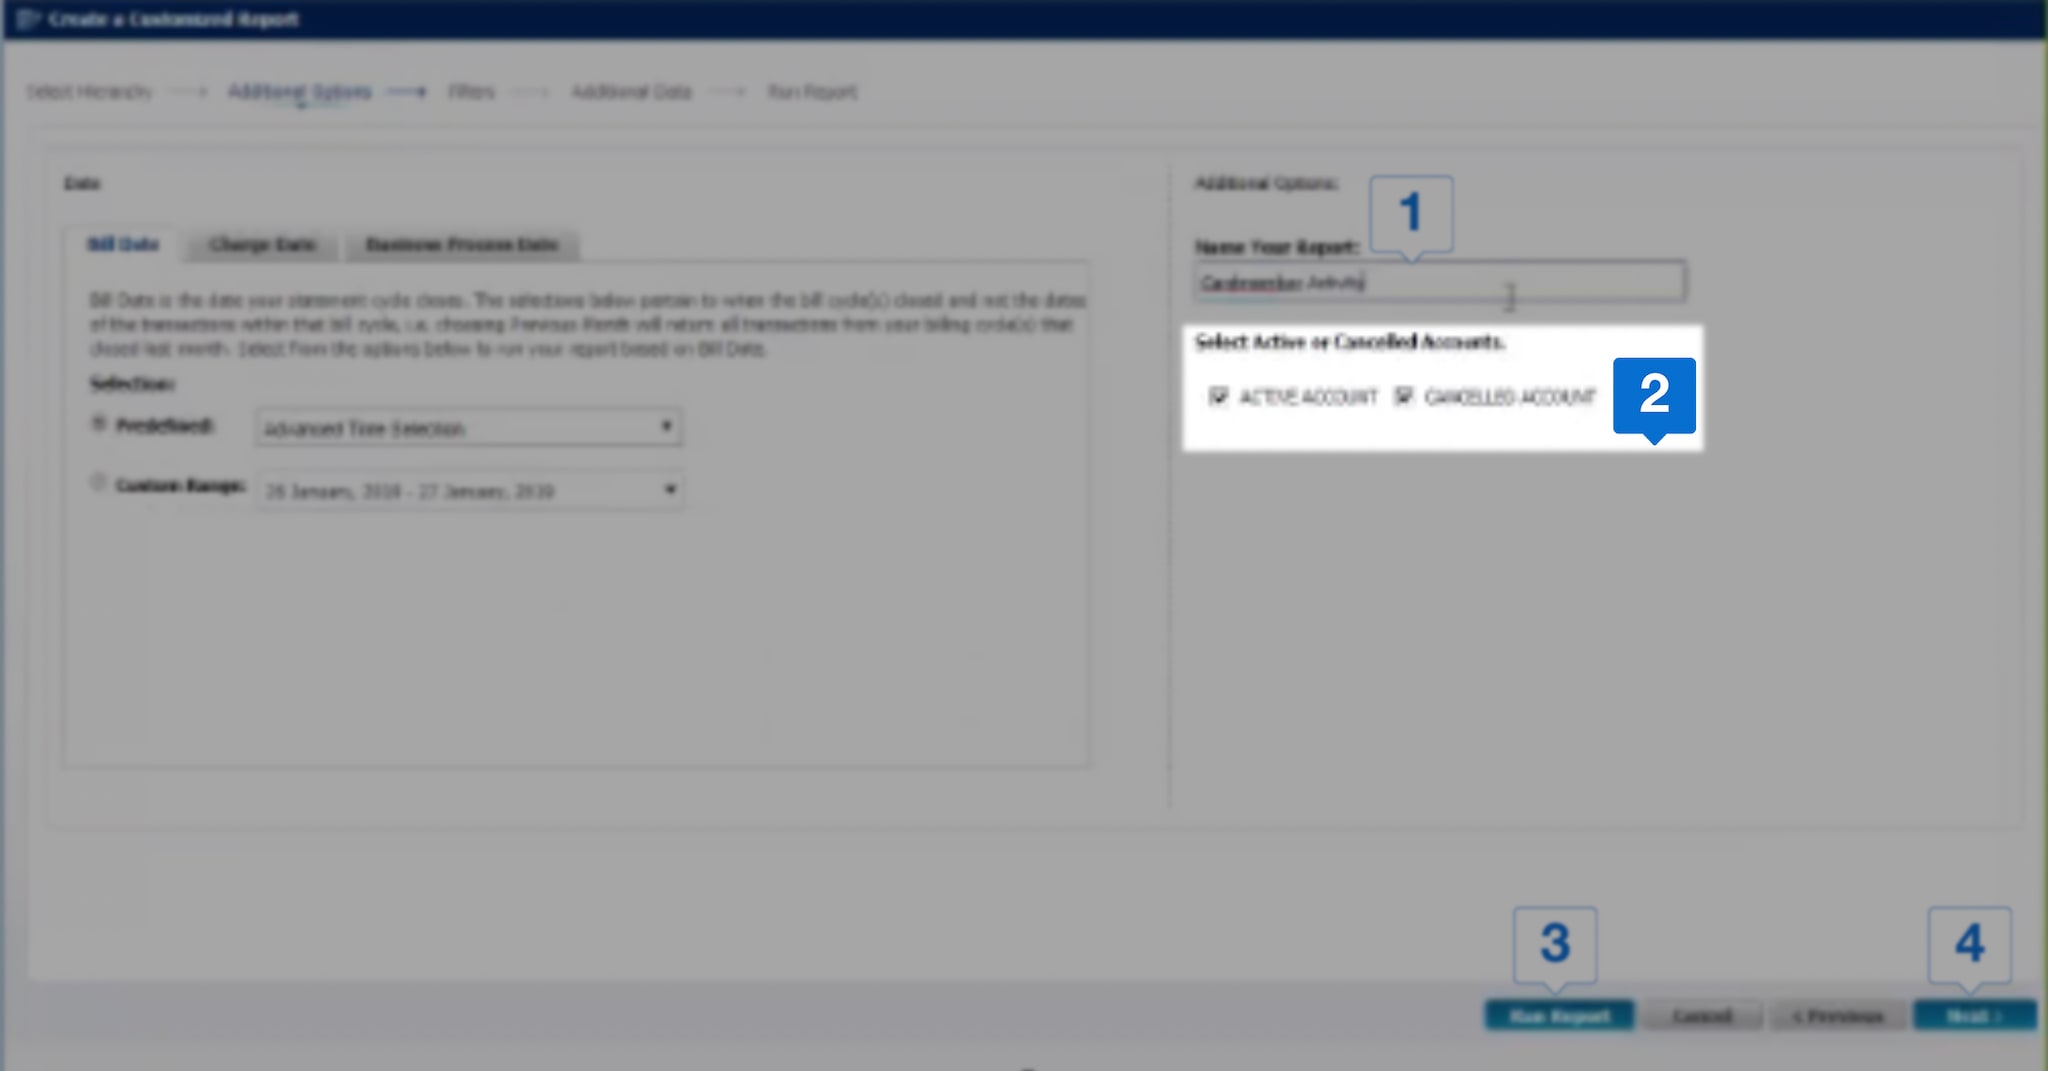
Select whether you want to generate the report for an active or cancelled account
-
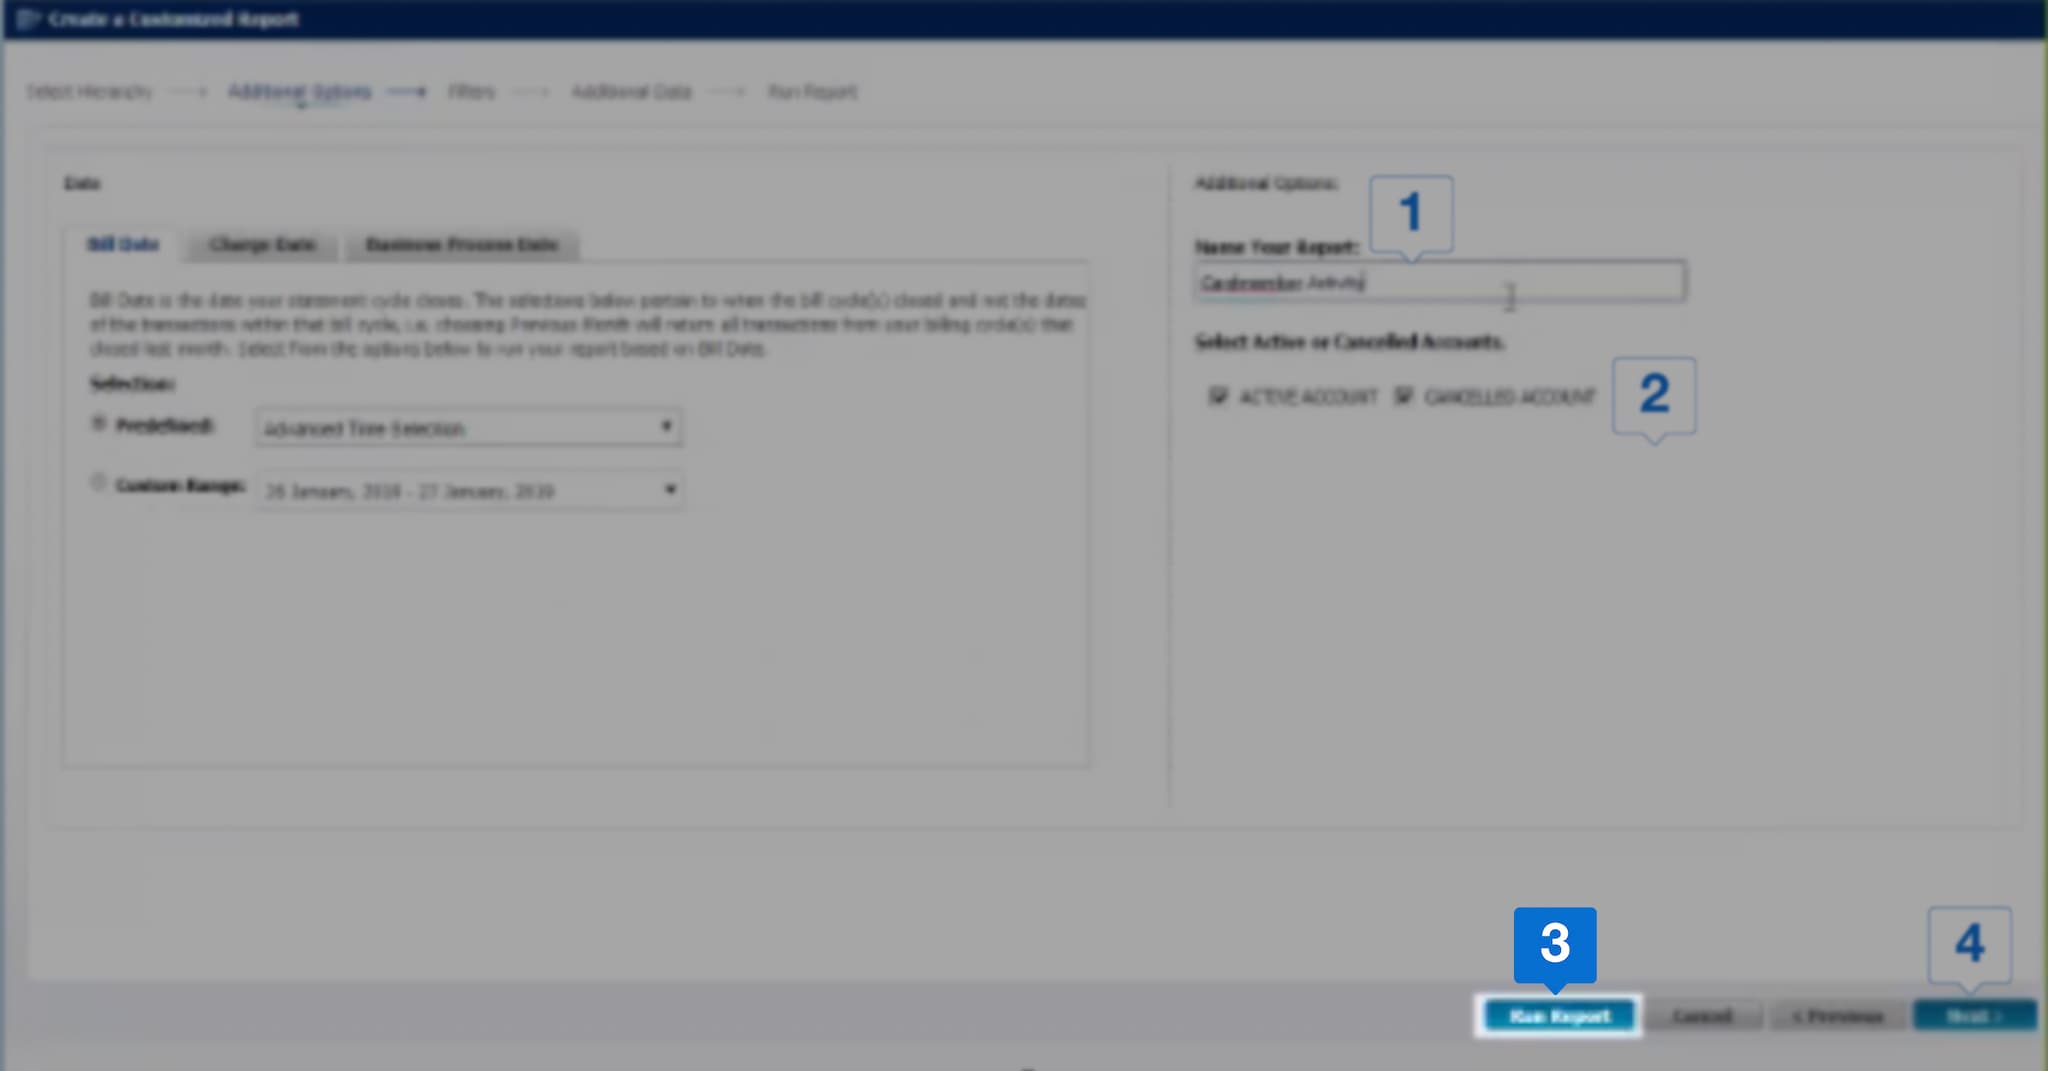
Click Run Report to complete the set-up process (or)
-
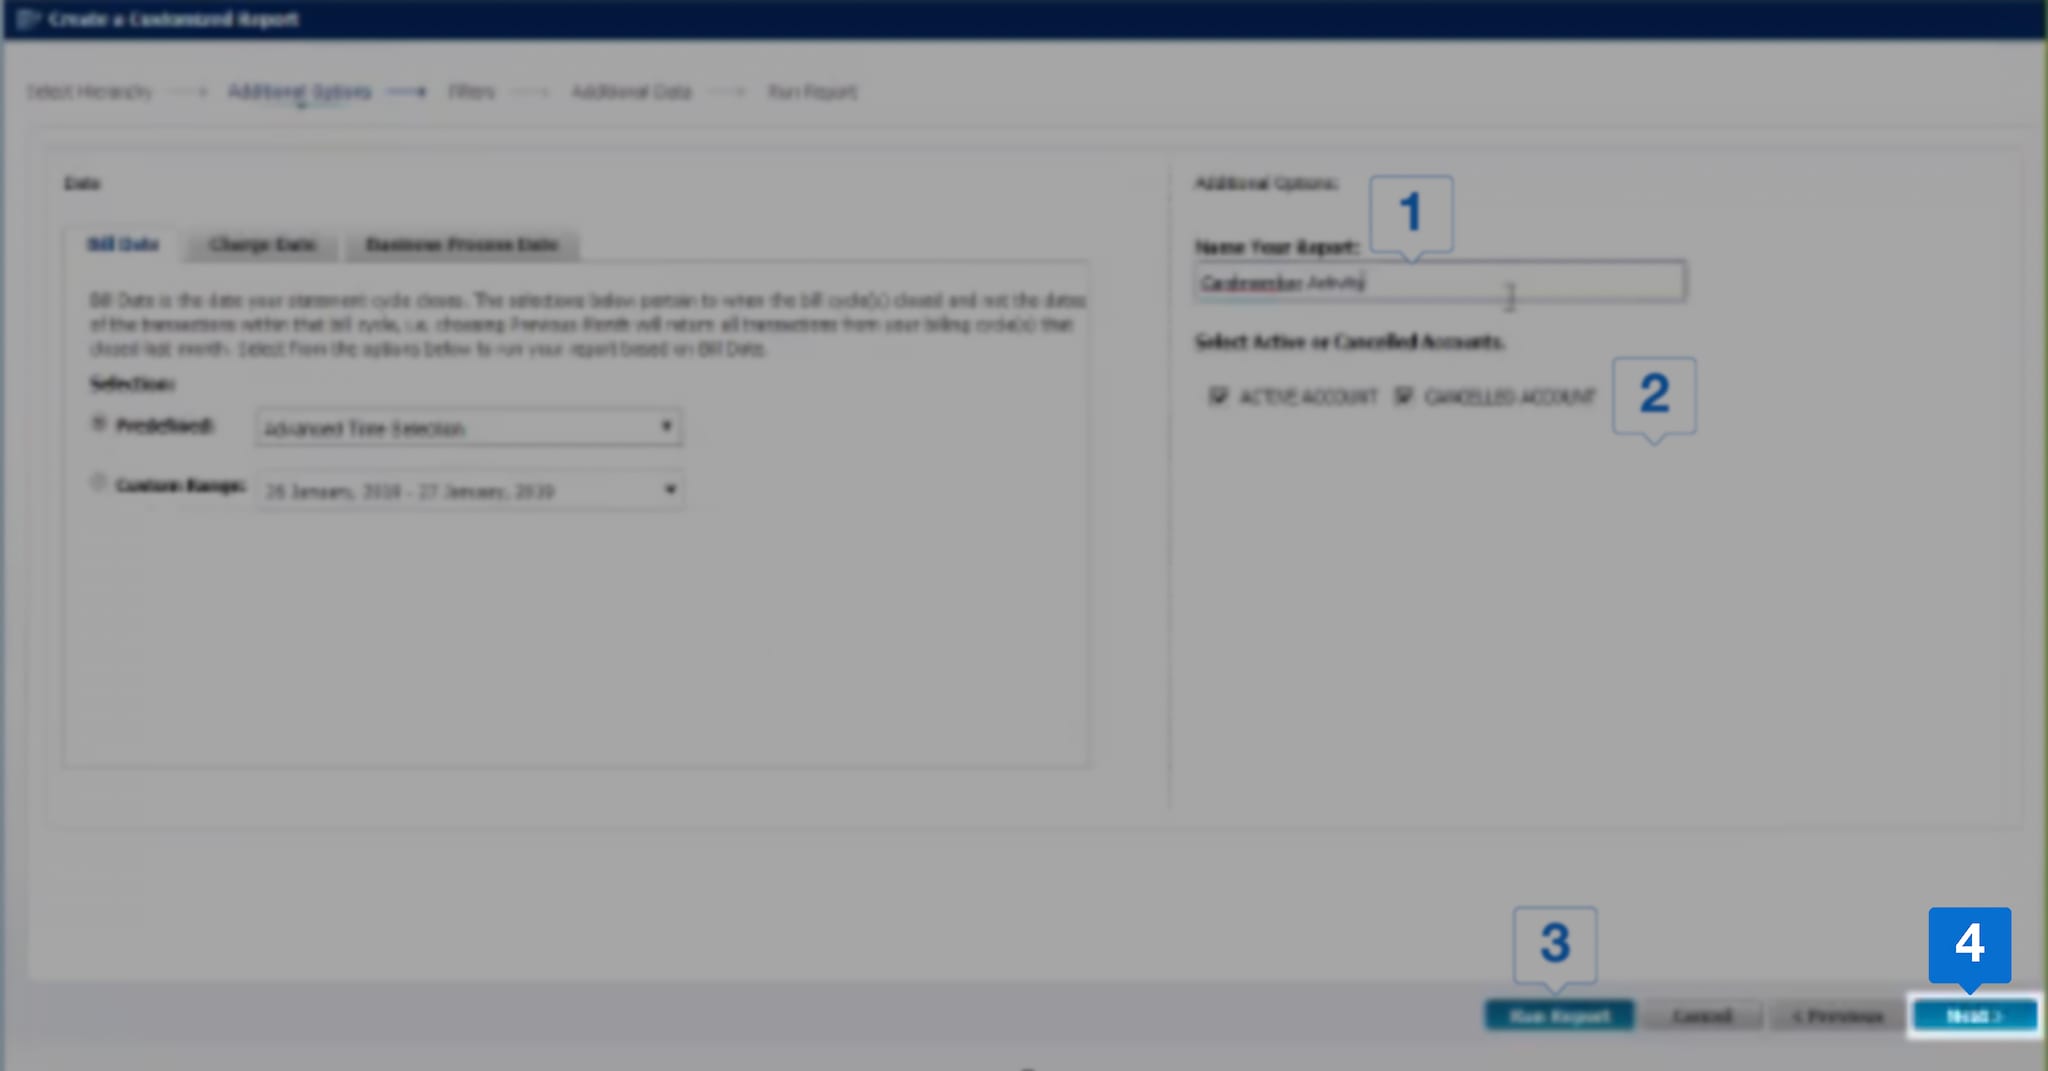
If you wish to customize your report further, click Next.
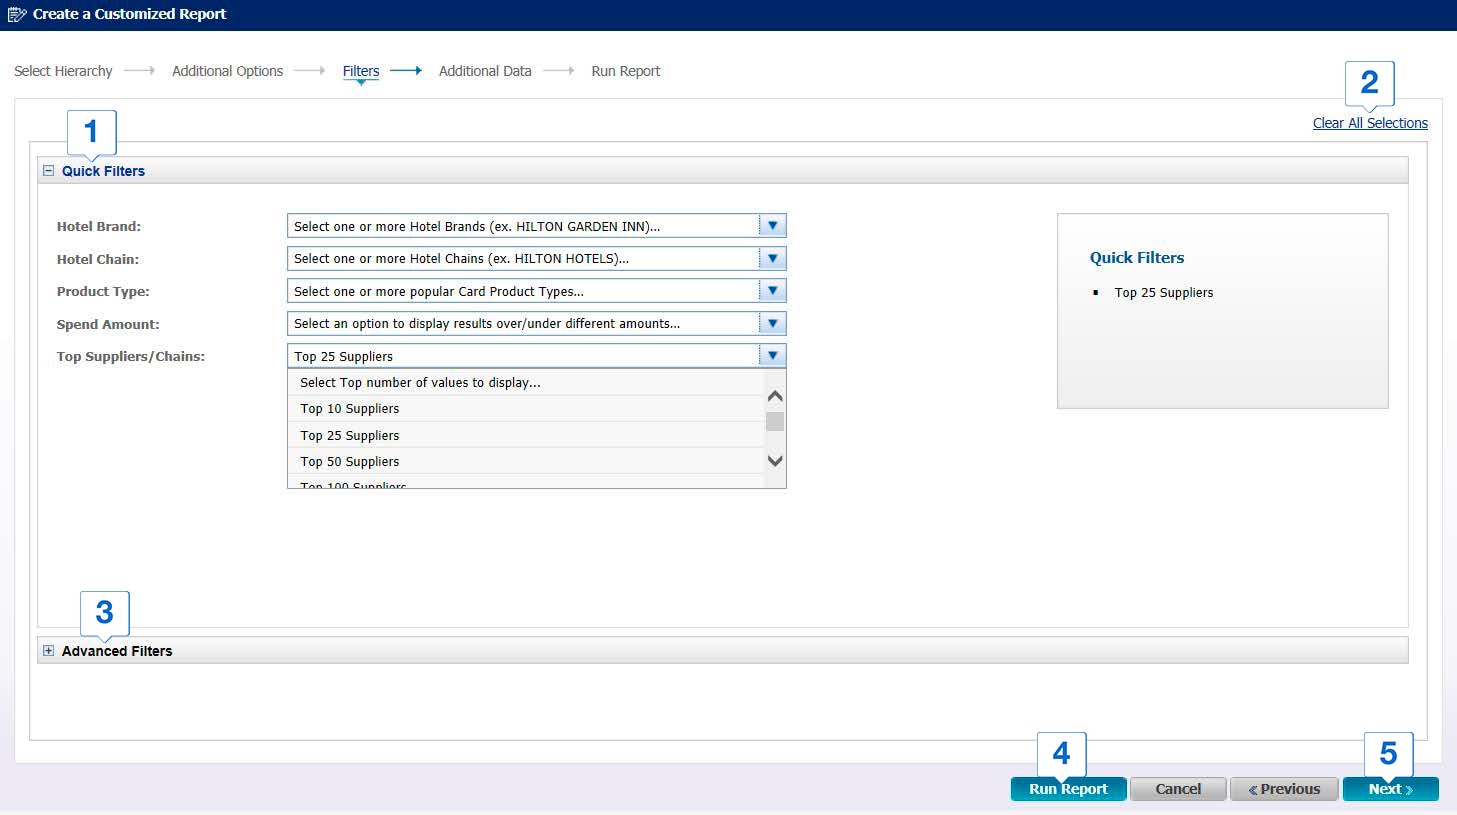
SELECT FILTERS
Offers Carousel
-
-
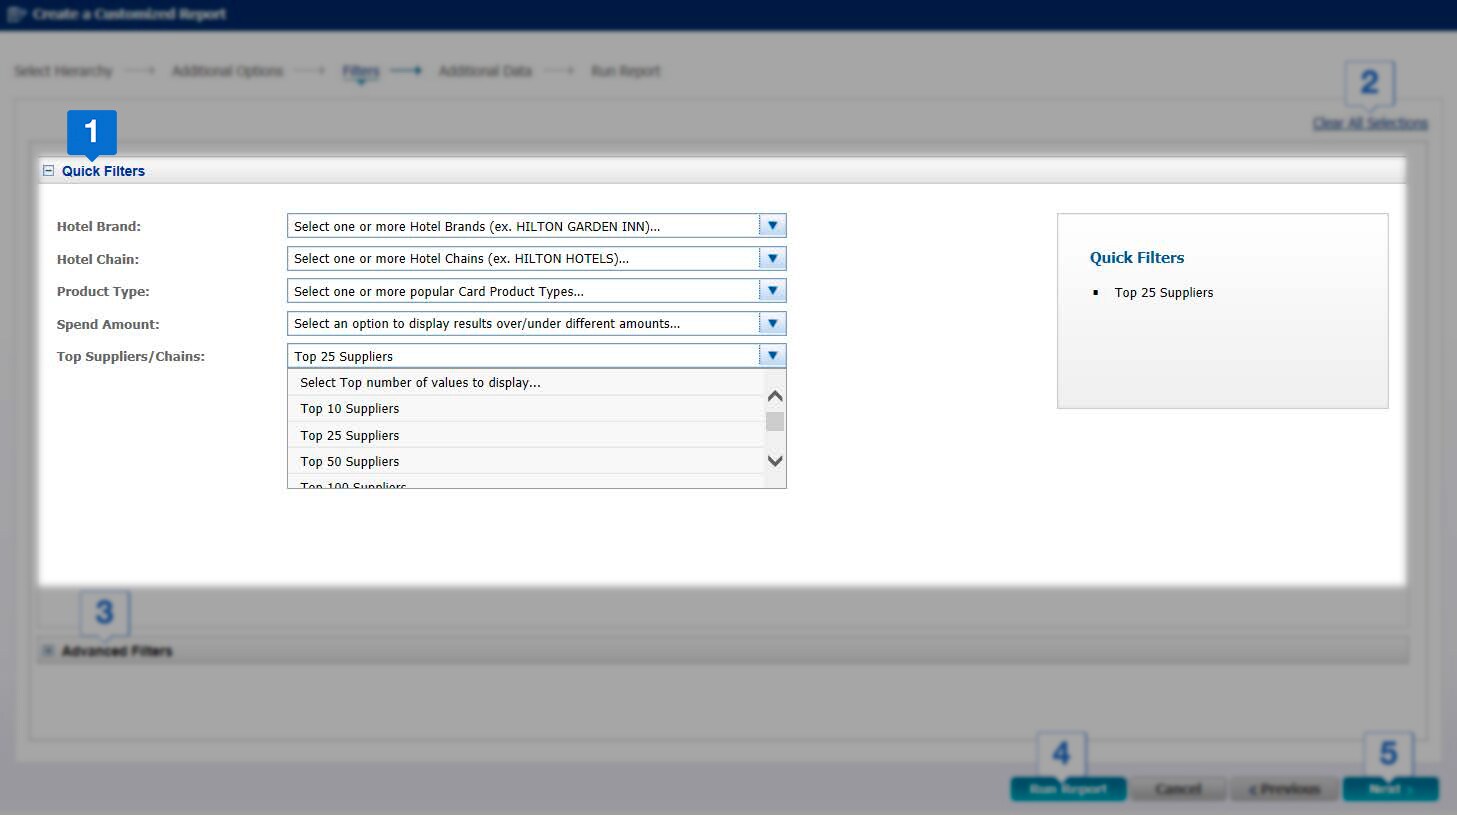
Click on Quick Filters to view the most commonly used options
-
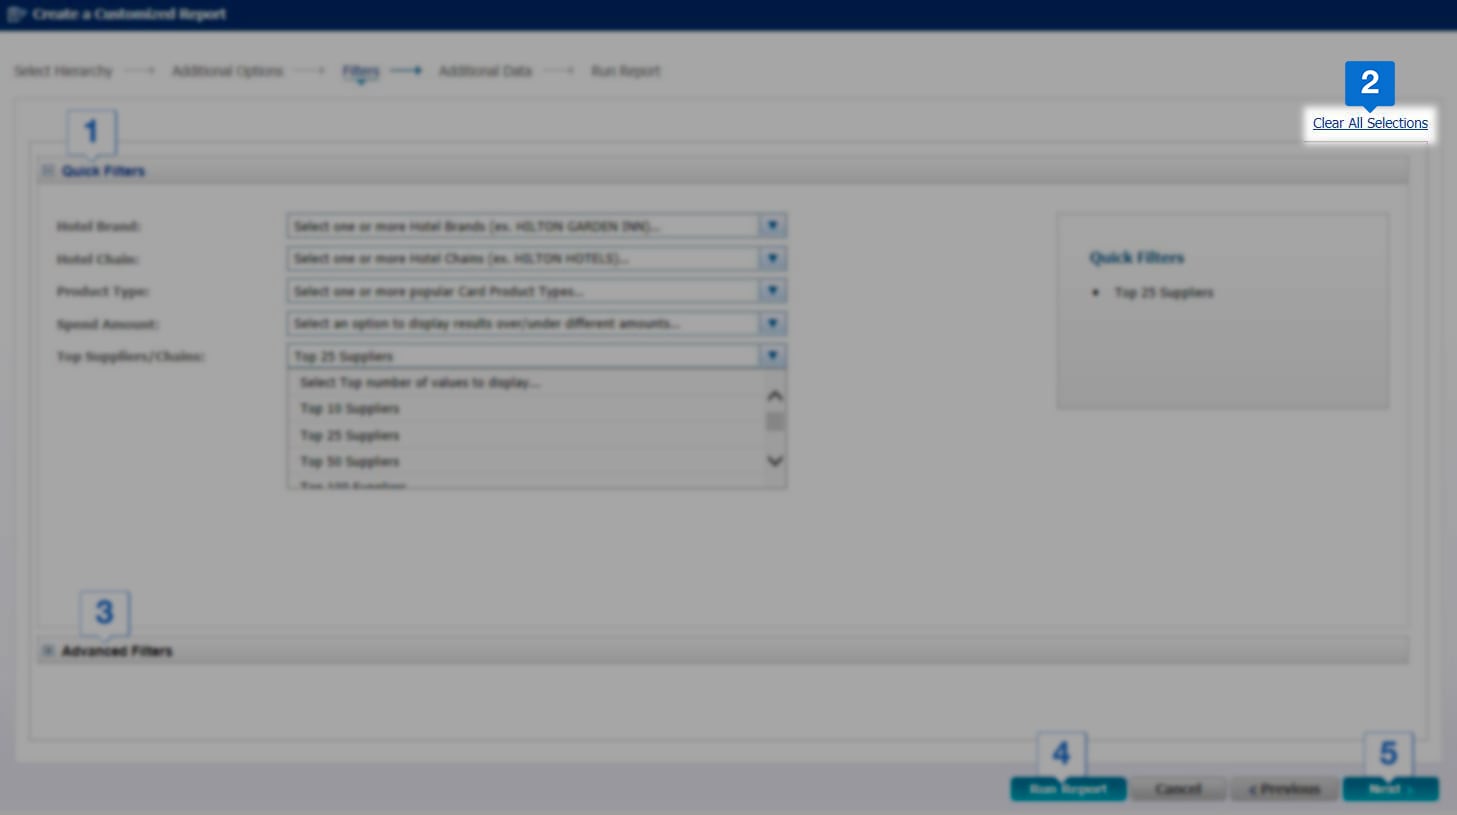
Click Clear All Selections to remove all selections, if you need to switch to default options
-
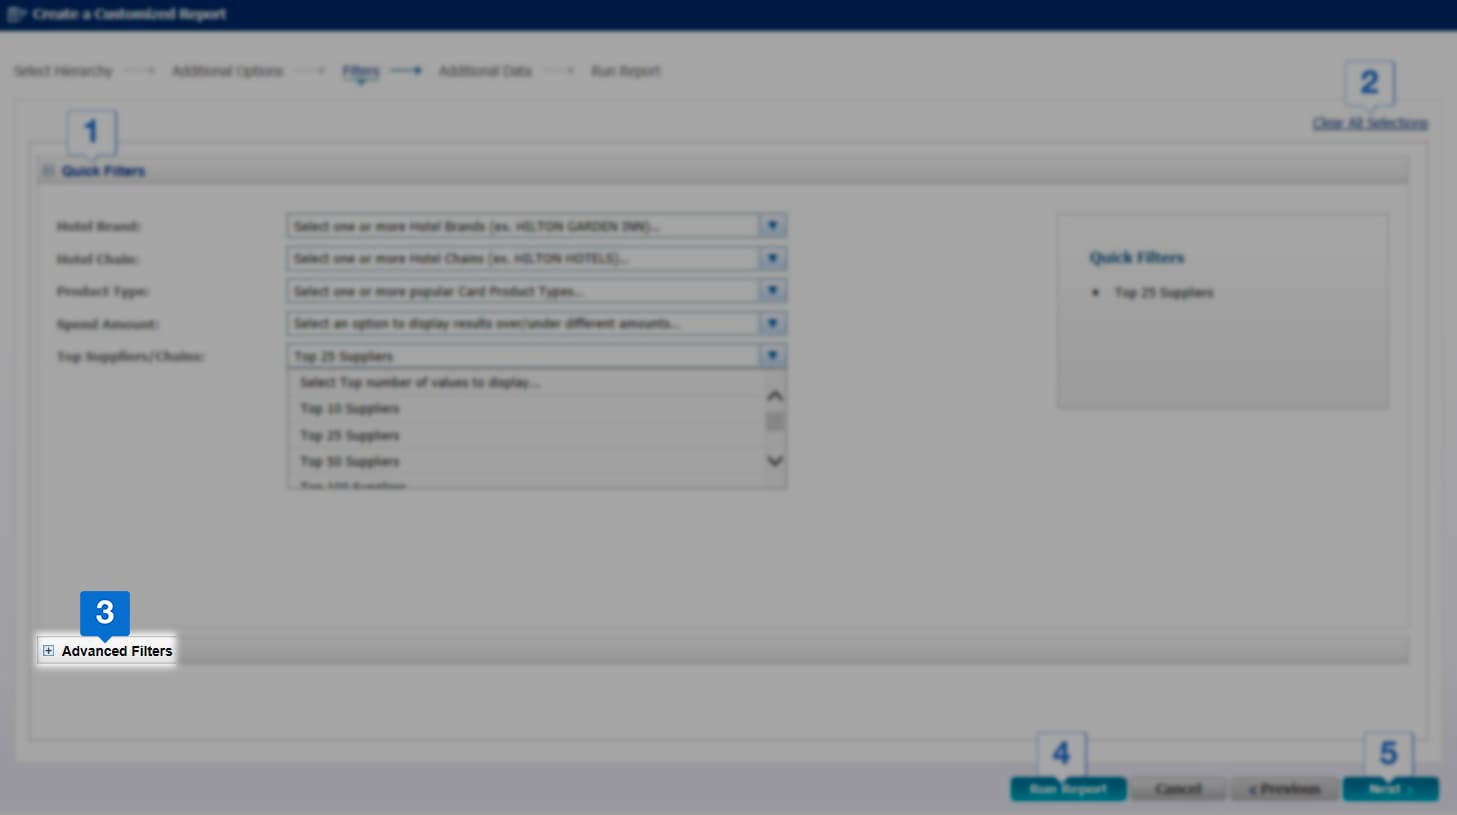
Use Advanced Filters option for more detailed filtering options
-
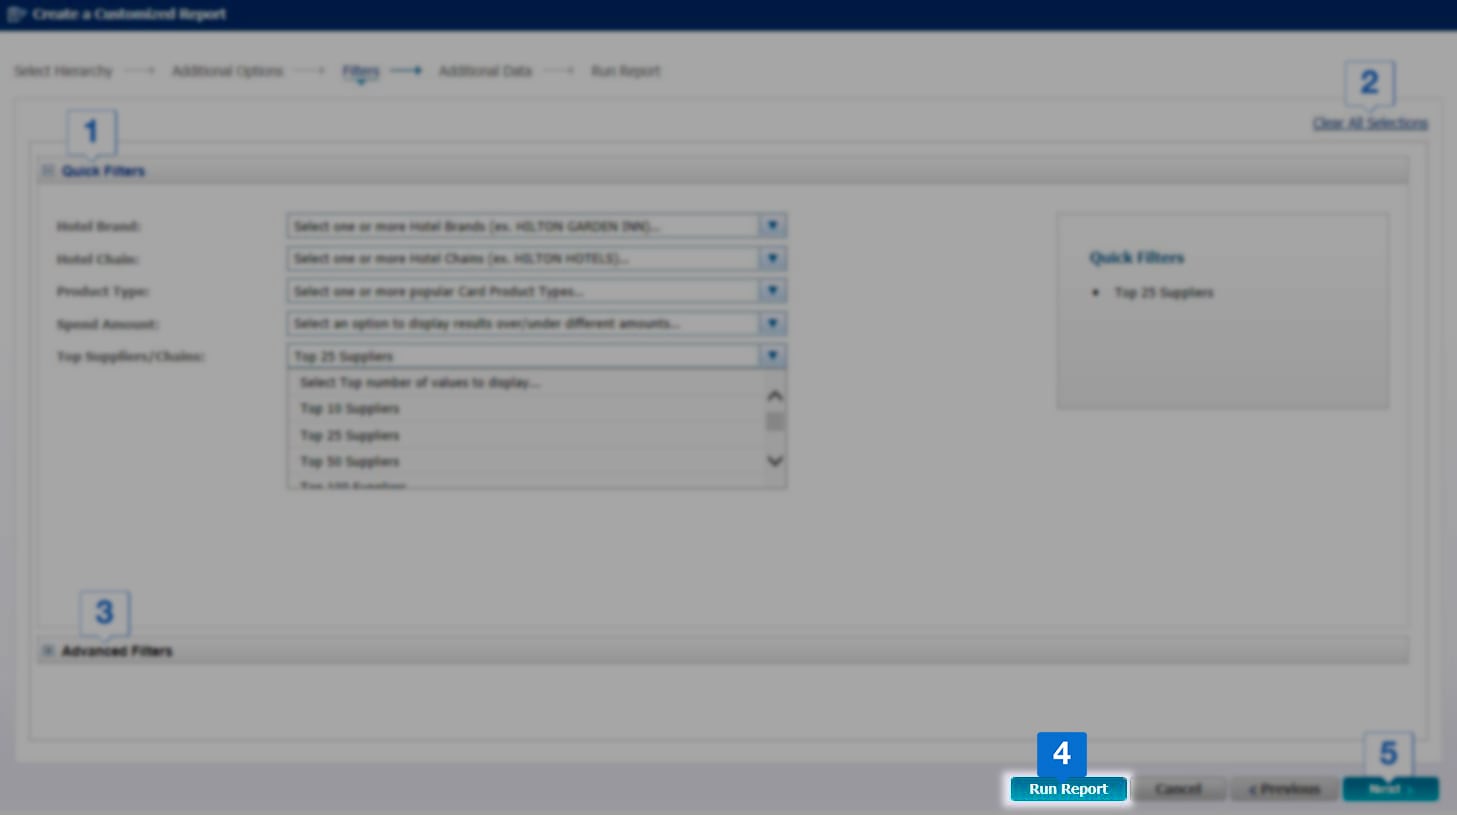
Click Run Report to complete the set-up process (or)Click Run Report to complete the set-up process (or)
-
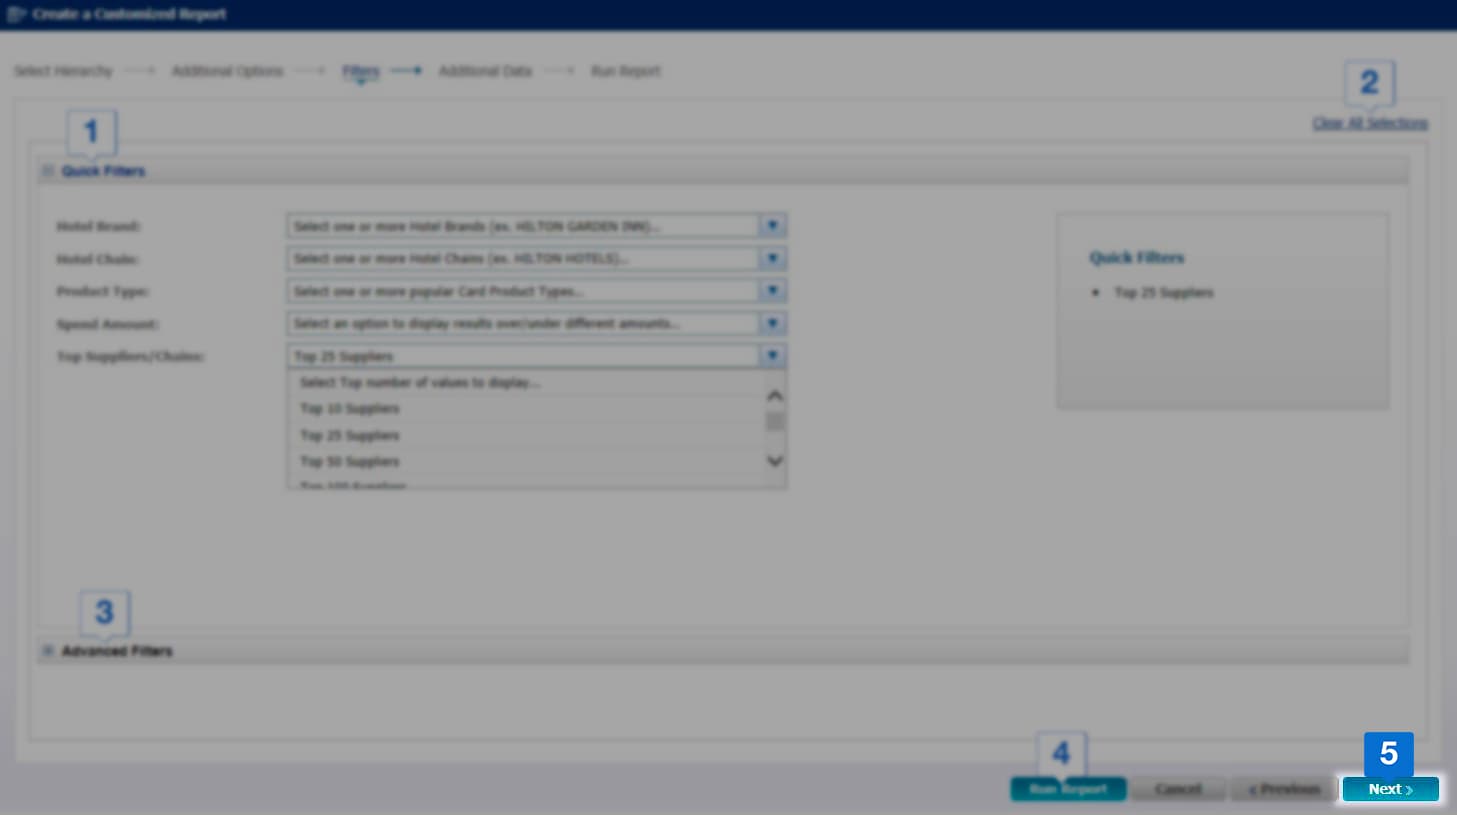
If you wish to customize your report further, click Next.
CHANGE DISPLAY ORDER
Offers Carousel
-
-
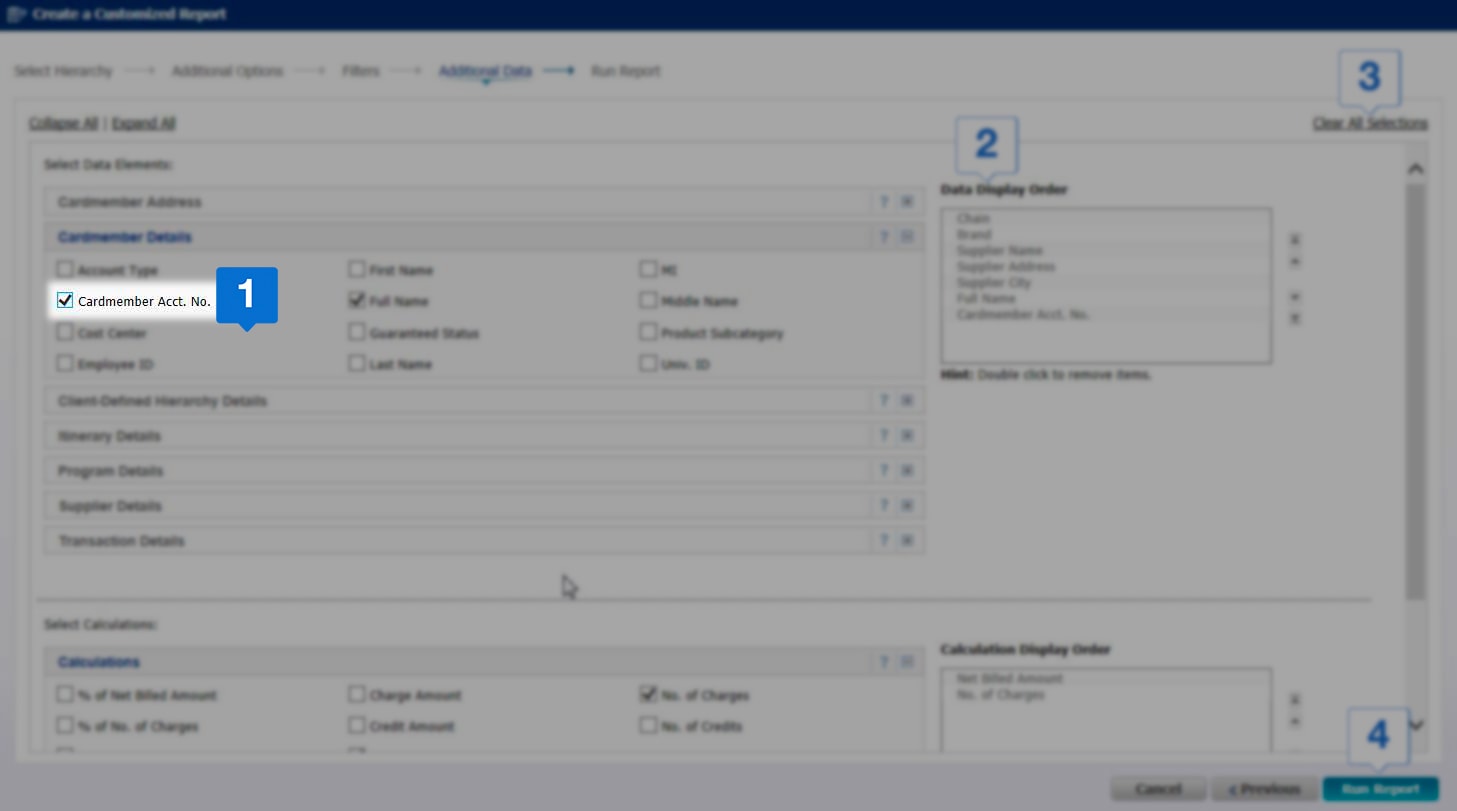
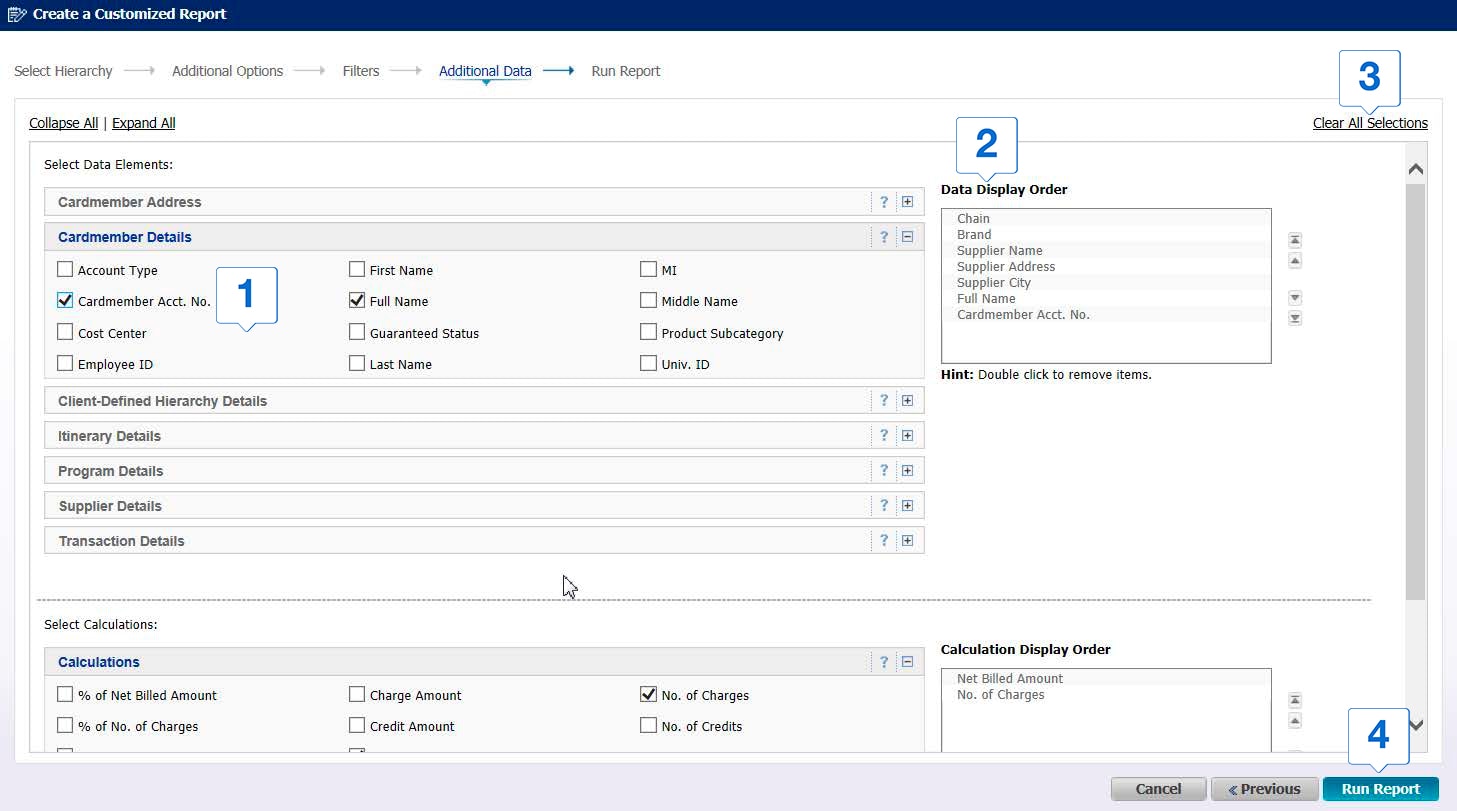
Check or uncheck the boxes to add or remove elements from your report.
-
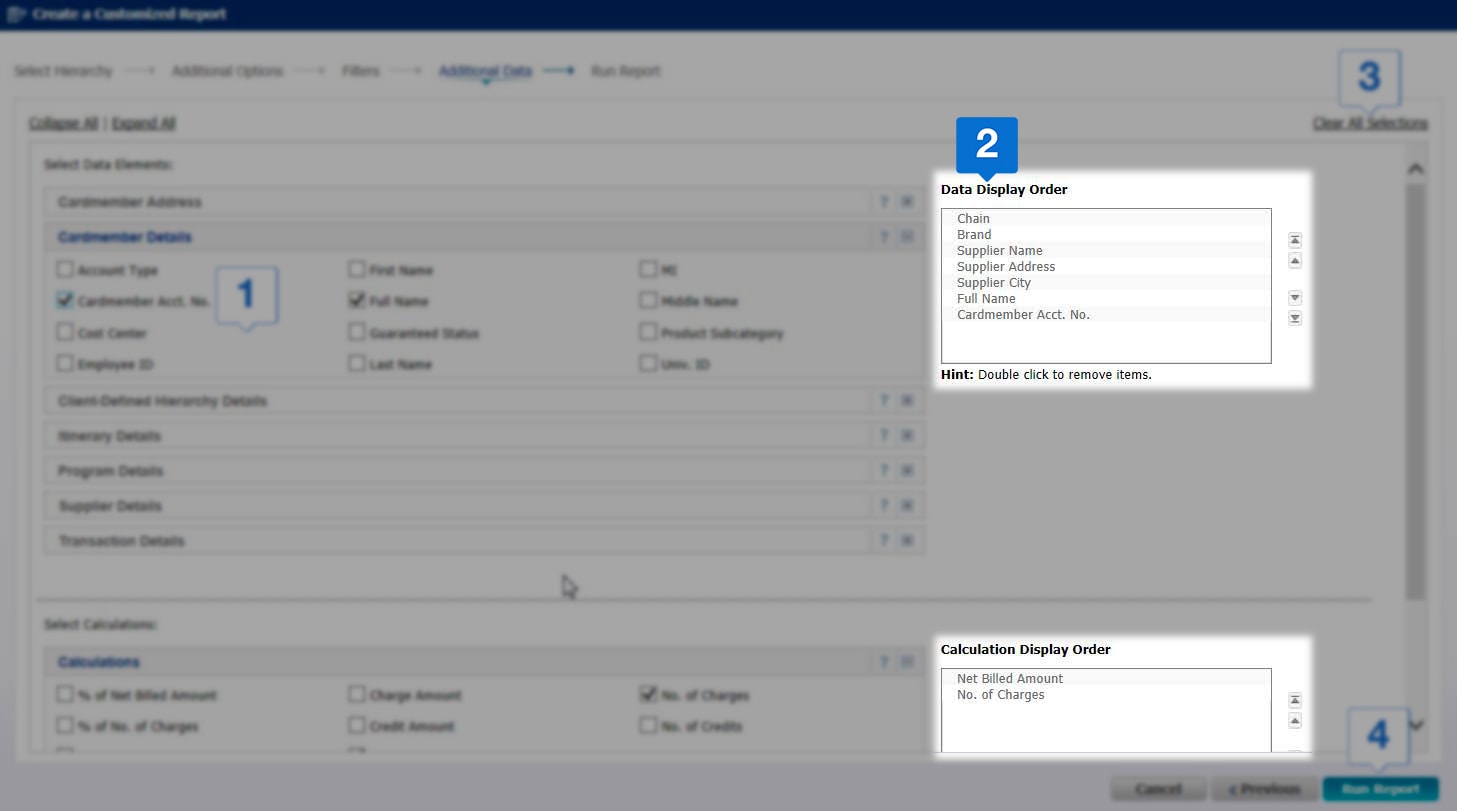
To change the order of columns in your report, use the arrows in the Data Display Order and Calculation Display Order boxes accordingly
-

If you want to remove all selections and switch to default options, click on Clear All Selections.
-
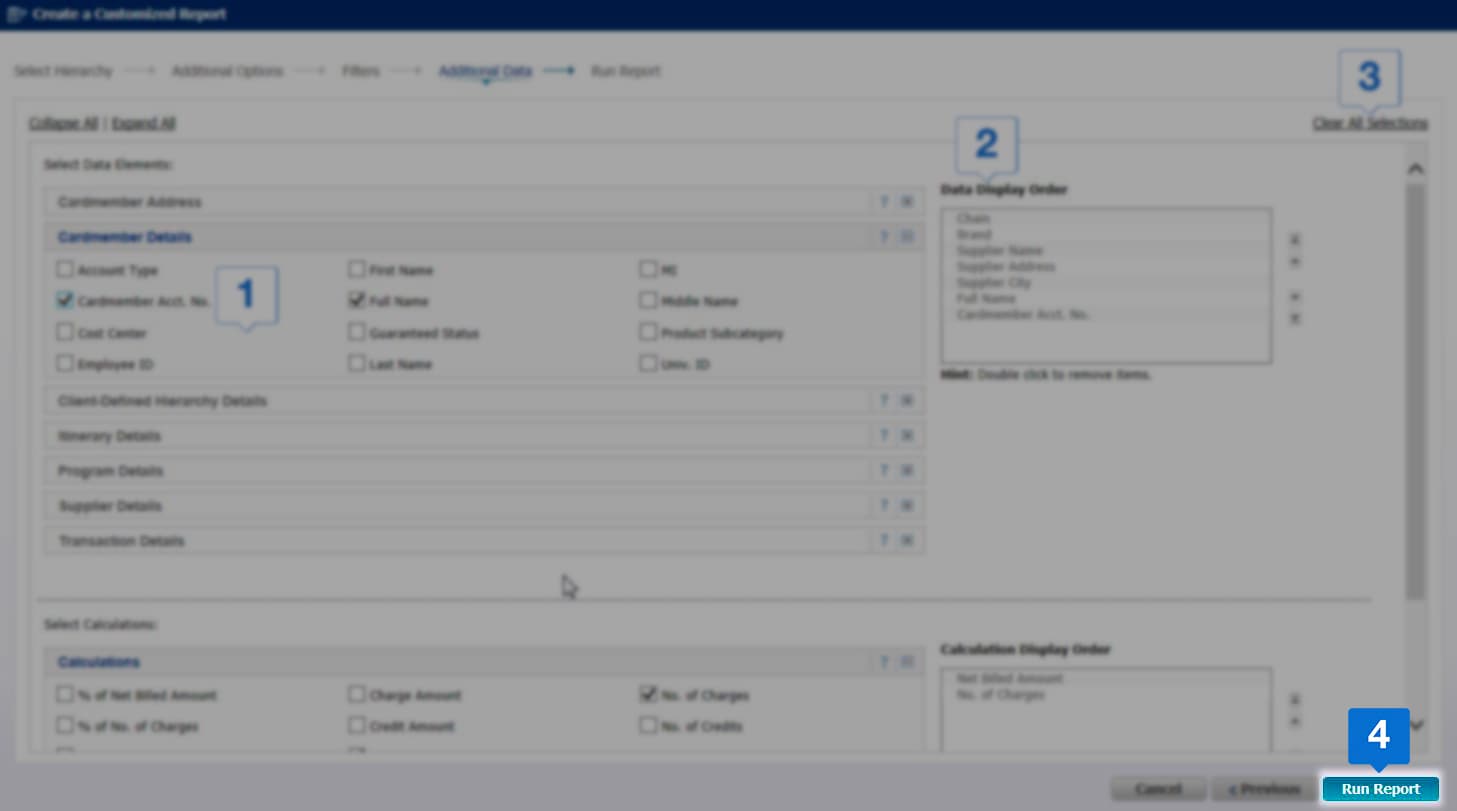
Once you have completed all the selections, click Run Report to finish the set-up process.