


The following is a collaboration between American Express Business and Dell Technologies.
In recent years, digital transformation – the transformation of business operations and models using digital technology – has disrupted nearly every industry, resetting consumer expectations and changing the way businesses deliver products and services.
For organizations large and small, this trend is an opportunity to both modernize business processes and reinvent customer experiences.
Cheryl Foulkes, senior vice president of team member experience and IT strategy at Dell Technologies, underscores the pace at which new technologies are taking hold.
“Digital transformation changes people’s expectations for the future. There’s now an even greater imperative to transform,” Foulkes says.
How COVID-19 Affected Digital Transformation
The COVID-19 pandemic has accelerated digital transformation, as businesses turned to technology to adapt to limited in-person transactions.
A Dell survey of 4,300 leaders of midsize and large enterprises in 18 countries found that 80% of businesses fast-tracked at least some digital transformation programs in 2020. Likewise, 72% of 2,030 small businesses surveyed by global market intelligence firm IDC in its “2020 Small Business Digital Transformation” report said the pandemic drove them to accelerate digitalization.
What is Digital Transformation?

The focus of digital transformation is not simply on implementing technology, says Sri Manchala, chairman, founder and CEO of Trianz, a Silicon Valley digital transformation research, strategy, and implementation company.
“Digital transformation is about reimagining a company’s portfolio or products and services,” says Manchala. “You have to try to understand what appeals to customers today and to the customers of the future – and rethink your products and services in ways that the customer imagines value.”
Benefits of Digital Transformation
For businesses, digital transformation can offer many benefits. Some of them include reduced costs, increased speed and flexibility, greater market reach and more intelligent decision-making, says Andrew Nelson, PhD, professor of management and the Randall C. Papé chair in Entrepreneurship and Innovation at the University of Oregon’s Lundquist College of Business.
“It can make the business more efficient, automating processes and reducing some of their pains, so they can focus more on the value-added aspects of their business,” Nelson says.
This includes small businesses. The 2020 Small Business Digital Transformation survey found that small businesses that prioritize digital transformation saw double revenue growth compared to those just starting digital transformation efforts – and eight times higher revenues than those with none.

“Digital transformation unlocked a lot of new opportunities for us to be much more relevant to a growing customer base,” says Clark Twiddy, president of North Carolina vacation rental business Twiddy & Company, which employs an average of 150 people – and up to 500 during peak season. “It has allowed us to move much more rapidly to meet the needs of our customers.”
One example of that transformation is the company’s communication with customers, which in the past was primarily in person or over the phone. To automate and speed up some of the customer inquiries, such as restaurant recommendations or simple troubleshooting, the company now relies heavily on text messaging as primary communication tool.
How Does Digital Transformation Work?
Just about any area of a business can benefit from digital transformation, including customer service, operations, marketing, and human resources.
According to a 2021 survey by market research and consulting firm SMB Group (sponsored by Dell Technologies, Acumatica, and Xero), the top five priorities for automation were customer service (38%), internal IT (34%), financials and accounting (31%), business planning and analytics (31%), and sales (30%).
At the core, digital transformation entails a change in business processes, says Ali Reza Montazemi, PhD, professor of information systems at the DeGroote School of Business at McMaster University in Canada.
“Businesses have to identify what they’re doing right now and what are the best practices, what the leaders in field are doing,” he says.

There are different scales to measure your digital transformation maturity, based on aspects such as digital strategy, digitalization, digital processes (e.g., automation) and digital workforce.
Dell’s Index, for example, identifies five categories, ranging from “digital laggards” (businesses that have no digital plan, as well as limited initiatives) to “digital leaders” (businesses with digital transformation embedded in their DNA).
Foulkes, of Dell Technologies, says fewer and fewer companies have remained in the laggards category in the last few years.
“Business leaders understand that they can’t sit back for a few more years, [or] their companies will be left behind,” she says. "The best-prepared organizations are already thinking digital-first and reimagining how to differentiate their products and services with technology."
Elements of Digital Transformation
Digital Transformation is encompassed by different elements that provide a way to improve processes and workflows and help businesses to better understand their customers and markets.
Data Analytics: The Key to Faster, Better Decisions
Data analytics is perhaps one of the most important technologies driving digital transformation.
“Data analytics enables you to use the data you have to make the customer experience better,” Foulkes says.
Also referred to as 'big data analytics,' this broad term describes a combination of advanced techniques and processes used to examine very large and diverse sets of data that come from different sources. The purpose of data analytics is to extract insights that aid in decision making.

German engineering company ProGlove says it takes "a human-centric approach to innovation."
“Many small businesses have more data than they realize, even if they haven’t systematically collected it or reflected on it," Nelson notes.
One type of data analytics is predictive analytics, which uses machine learning algorithms, historical data, and predictive modeling to forecast or make predictions about future outcomes. For example, Twiddy & Company relies on predictive and other data analytics to apply dynamic pricing to the rentals and ensure pricing meets revenue targets.
Like many businesses in the travel industry, the company’s cash flow plummeted to zero during the pandemic and all in-person customer contact ceased. With its business disrupted, the technology-forward, family-owned business had to reinvent a business model previously rooted in personal interactions. As a result, Twiddy & Company expanded its data scientists team to nine people.

Biotechnology firm Innerplant says farmers are able "to hear what their crops are saying," thanks to its live plant sensors.
With 44 years in business, the company had millions of transactional records, which the data scientists can contextualize with other factors, such as location, web traffic and competitive market analysis, and run simulations on potential revenues for each property. Before that, property owners had to approve rental prices for each week.
"We’re automating everything we can because the more we automate, the faster the processes get, and the more we can focus on relevance,” Twiddy says.
Artificial Intelligence: The Path to Automation
One of the technologies that’s relevant at every step of digital transformation is artificial intelligence (AI), according to Ash Fontana, author of The AI-First Company: How to Compete and Win with Artificial Intelligence.
“AI can be used to transpose, clean and organize the data itself, analyze the information, and ultimately help you make decisions and automate things,” Fontana says.
A branch of computer science, AI refers to computers’ ability to perform human tasks, such as making intelligent decisions. The most widely applied subset of AI currently is machine learning, which refers to applying computer algorithms and models to historic data to “learn” and make predictions. In the SMB Group survey, the respondents identified artificial intelligence and machine learning as the second top technology most critical to future growth.

Machine learning, a subset of artificial intelligence, is helping simplify credit card application reviews, a traditionally complex and manual process.
“Machine learning are statistical models that are repeated over and over again and applied in meaningful ways, reliably and consistently, to help you do all sorts of things,” Fontana explains. It can help businesses gain a competitive advantage.
AI automates processes, such as managing supply chains, categorizing expenses to make accounting faster or gathering financial information so you can quickly create reports. It also powers everything from virtual assistants and chatbots to predictive analytics.

SaaS vendor Drift's conversational AI helps companies engage website visitors in real-time, personalized conversations.
Chatbots is one of the AI-powered technologies Twiddy & Company has adopted. This may seem unusual for a business that relies heavily on in-person interaction, but it became necessary during the pandemic, Twiddy explains.
“We added the chatbot to our website within days of the pandemic shutdown, and found it had an enormous level of interactions,” he says. "We worked very hard to increase the quality of those interactions.”
Cloud Computing: The Foundation for Change
Another core part of digital transformation, cloud computing not only modernizes processes and powers digital-first disciplines, but also drives down costs for small businesses.
Cloud computing refers to the delivery of computing resources, such as servers, applications and storage, on demand via the internet. “The cloud” is distributed among multiple servers, often at different locations. In the case of the public cloud, the computing resources are shared among the cloud provider’s customers.
“By using the cloud, businesses can process data in very high volumes because the computing power of the cloud is stronger than what you can do with your own infrastructure,” says Manchala. "They are able to make storage of data and the applications cheaper because that infrastructure is shared.”

Three cloud delivery models:
- Software-as-a-service (SaaS), which are applications that run on cloud infrastructure and can be accessed from any device, anywhere, either through a web browser or a dedicated app (e.g., Slack, Microsoft Office 365, Google G-Suite, Zendesk)
- Platform-as-a-service (PaaS), which is cloud infrastructure that enables businesses to deploy third-party or their own applications (e.g., SAP Cloud, VMware Tanzu, Red Hat OpenShift, Salesforce Lightning)
- Infrastructure-as-a-service (IaaS), which includes the storage, network and computer resources for running operating systems and applications (e.g., Amazon AWS EC2, Microsoft Azure, Google Compute Engine, Dell Technologies APEX Cloud Services)

Upstarts like Frayt, AxelHire and Roadie use cloud-based tech to fill gaps in the delivery supply chain for consumer goods.
“Our data (from over 5,000 companies globally) shows very clearly that when the cloud is adopted at scale, it creates a competitive advantage demonstrated by an acceleration of product-solution cycle times, customer focus and validation, and steep cost reductions in IT infrastructure, applications and analytics,” Manchala says. “For example, companies that are using the cloud to develop applications, apply analytics, build next-generation portals, and so on are able to do it two times faster.”

Oregon-based Instashowing helps real estate professionals streamline residential showings.
Overcoming Barriers to Adoption
Data privacy and security, lack of digital skills, and cultural resistance were some of the top barriers and challenges that the Dell Technologies, IDC and SMB Group surveys identified.

Small businesses may have an advantage when it comes to quick adoption of digital tools, Foulkes says.
“The cultural change may be the hardest part of digital transformation. But in a small business, that may not require as big of an investment because you have fewer people to rally behind your vision,” she says.
Montazemi says small businesses that lack in-house experts should lean on outsourcing to implement their strategies. He recommends reaching out to small business development centers and university business schools, many of which offer resources and support for businesses of all sizes.
“First, know where you’re going, and then take advantage of all the free resources,” he says.
The Takeaway
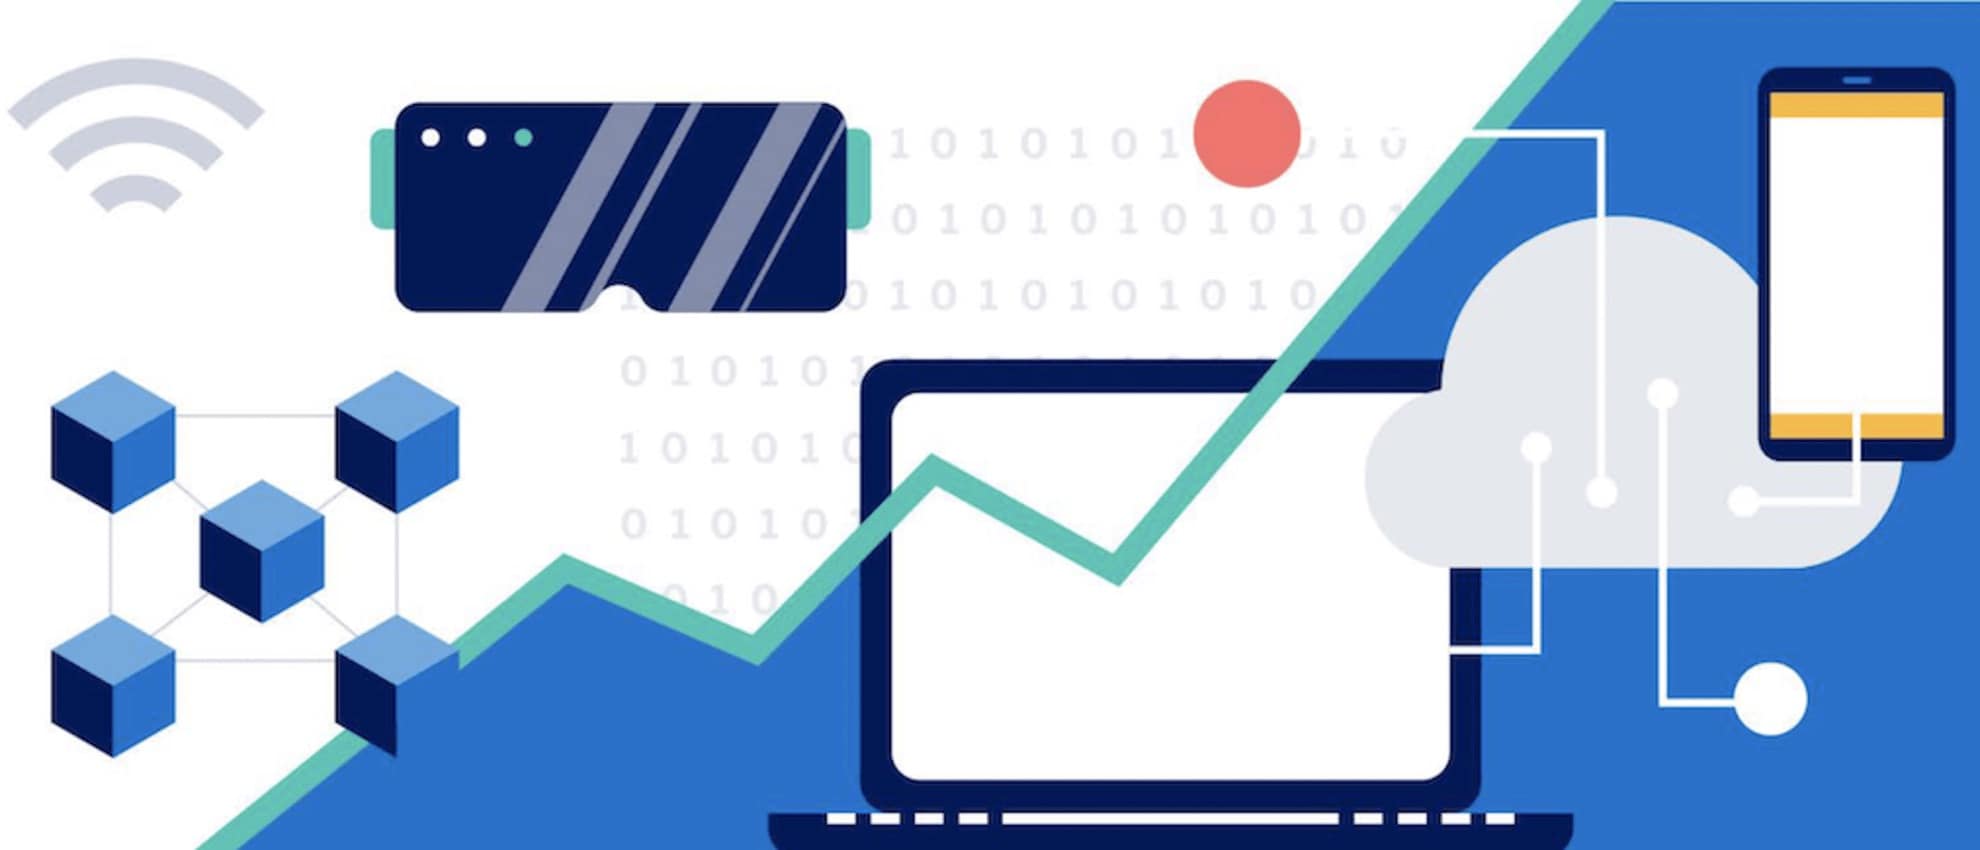
The technology powering digital transformation continues to evolve. The Internet of Things, blockchain, 5G, augmented reality, and virtual reality are just some of the emerging trends that will usher in the next transformation era and may be entering the mainstream next.
Small businesses can’t afford to wait until the next technology shows up, according to Montazemi.
“You need to be prepared with the state of the art, and when the new one comes in, you’ll be able to implement it more easily because the learning curve will not be as steep,” he says.
Whatever the next stage brings, digital transformation is an opportunity now for small businesses to level the playing field with larger enterprises – and to continue to stay relevant in the market well into the future.
A version of this article was originally published on December 21, 2021.